I’ve recently started following Flite Test on YouTube and enjoy quite a few of their videos, their Dollar Tree based foam plane plans looked cheap and fun which is always a great combination. One plane which looked like a lot of fun was their Bloody Wonder V2 which they released the flight test, build video and drawings to earlier this month.
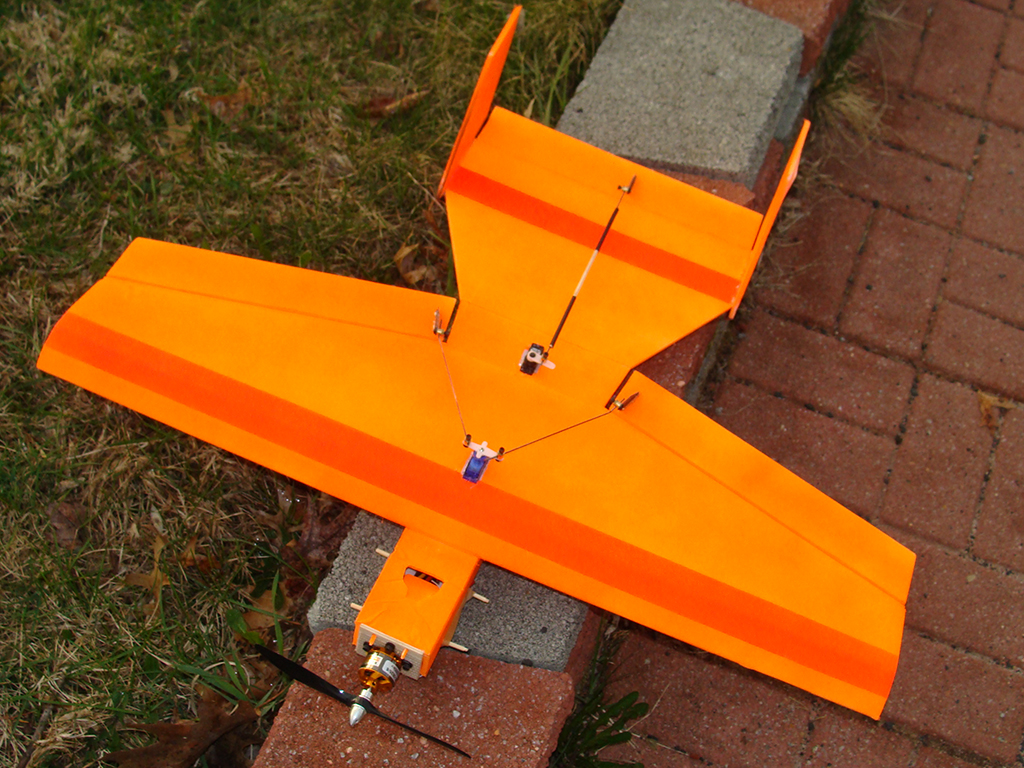
Having some spare time a couple of weeks ago I decided to build two of them, one for myself and one for my flying buddy Ollie. After all, what fun is a combat plane if you don’t have someone to combat with? Here’s the video of us flying combat together.
I didn’t get photos of the construction steps of the Bloody Wonders as I was building pretty quick and it didn’t cross my mind. But I have some other photos further down and you can see videos of that from FliteTest and others.
After I downloaded the plans from the website I had them printed at a local print shop for about $6. I also went to the local Dollar Tree store, which is one of those ‘everything for a dollar’ type places, and picked up the foam board in their arts/crafts aisle and some streamers for combat later, the unprinted streamers are 2 for $1 which is a good deal as well.
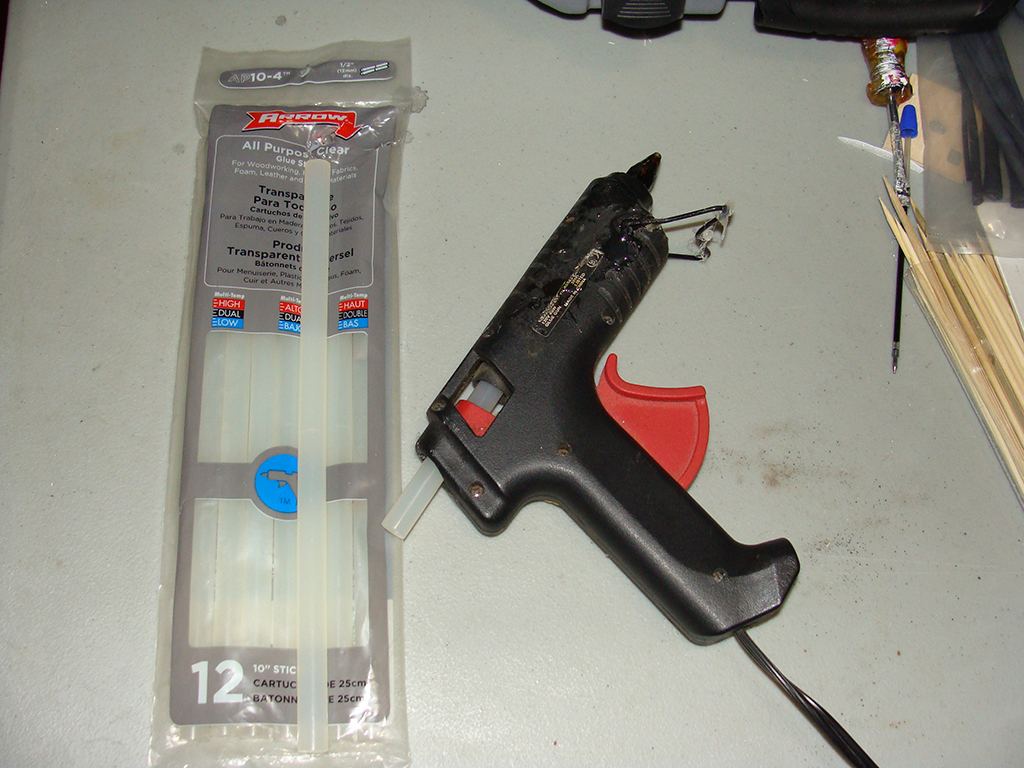
These planes are put together with hot melt glue. There’s not much to assembly other than making sure that your cuts are straight and clean, your folds are crisp and making sure you put things together before the hot glue cools.
The only risks during assembly is running out of glue in the gun halfway through a gluing process and then the glue cooling, you’ll have to cut a fresh part and start over. Always make sure you have enough glue stick left for your gluing stage. I used really long glue sticks and didn’t run into this problem fortunately.
I’d highly recommend sealing the exposed, cut edges of the foam board with hot glue as shown in the construction videos. The hot glue will help keep the paper from delaminating from the foam, which makes your plane look ugly.
Minwax
There’re two ways to prep the plane’s surface for water resistance and future painting and they both involve the use of Minwax Polyurethane (Non-water based type).
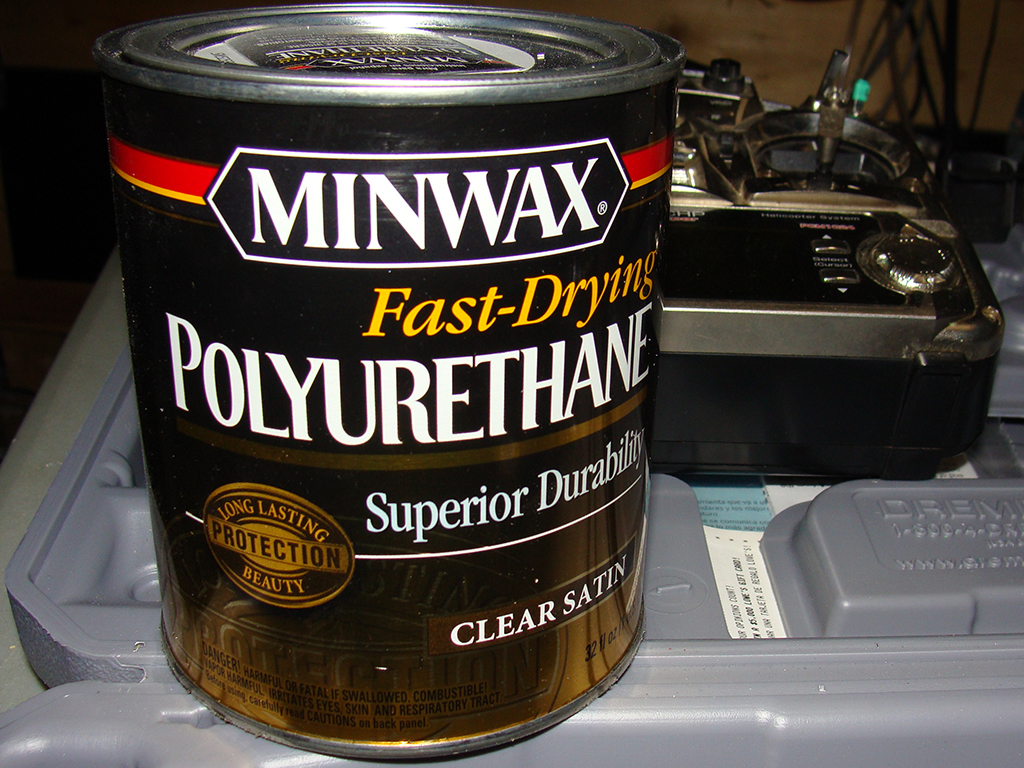
I Minwax’ed one plane after assembly, and on the other I Minwax’ed the flat foam board before assembly. Either way worked and the glue joints didn’t seem to be affected by pre-coating the board before gluing it together. If you choose to pre-coat, give it a few days to cure. I glued it one day later and it worked fine, but the Minwax is an oil based product so some extra curing time wouldn’t hurt.
You basically brush the Minwax into the paper surface of the foam board, let it soak in till you see the paper is ‘wet’ (a few seconds) and then quickly wipe off the residual with a paper towel. You don’t want to let the Minwax set for too long or you’ll not be able to remove the excess and it will add a lot of weight. You just want to soak the paper covering. In very warm temps you have to work quickly or it may set up too fast on you, adding lots of weight and making the foam difficult to cut and work with.
Painting
I just used spray paint, spray cans, rattle cans, spray bombs, whatever term you like for Krylon in a can. I applied a bunch of thin coats onto the plane, recoating every 10-20 minutes or so and the paint turned out okay for a spray job. If you decided not to waterproof and seal the paper, you need to be VERY careful with applying the paint, if it gets to wet the paper will contract and warp your plane. I think it’s worth doing the Minwax step first to help avoid this. You need to be even more careful with water based paints like you might use with an airbrush.

I used blue painters tape to do some of the stripes and designs. I only pushed down the edges of the tape as the blue tape is strong enough that if you press it’s whole width down onto the paper covering it can tear it off when you remove it. Remember that the paint adds weight to your airframe, so just use as much as you need for your design, you’re not trying to get an auto-quality finish.
Power System and Radio
A lot of the FliteTest planes use a “Power Pod” which is just a U channel of foam with a plywood motor mount glued and taped to the front. You can make the motor mount plate yourself with hand tools or you can order 5 of them from the FliteTest store.
I converted the drawing on the plans from the FliteTest website into a DXF and routed out a few motor mounts for myself.

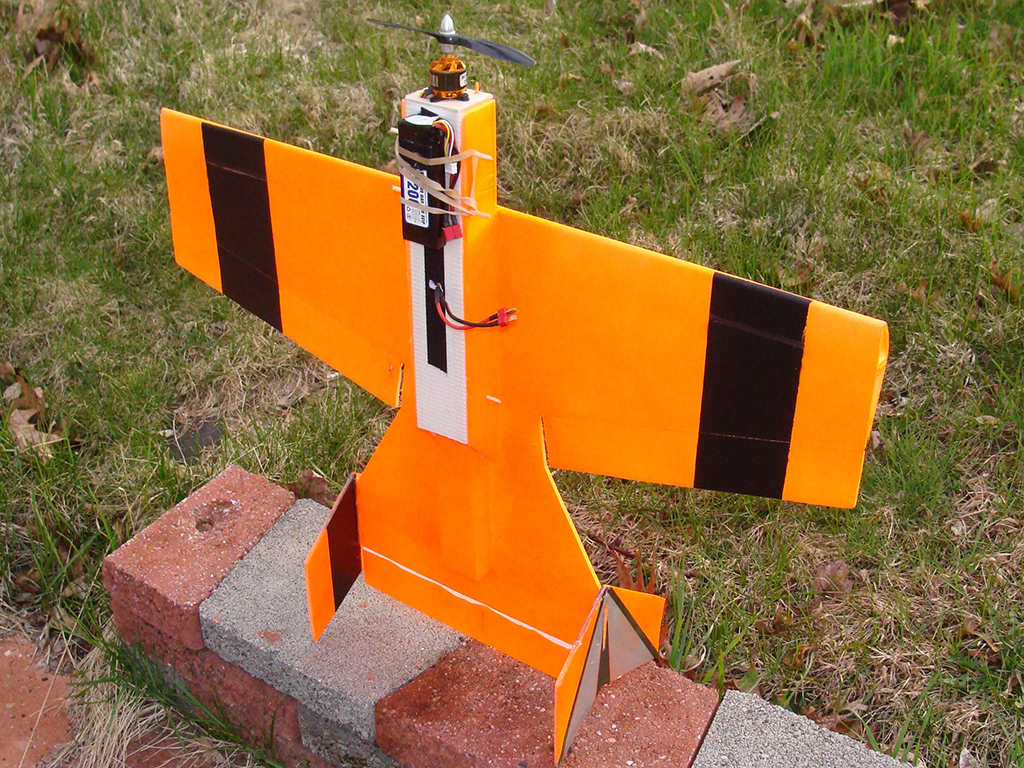
Since I was building these on the cheap I had to work with what I had in hand for the electronics. Fortunately I had an 1800mAh 3S LiPoly and a 1700mAh 3S LiPoly which was just about the right size for this plane I think.
The motors I had were RCTimber BS2826/6 2200kV motors. These were also just about perfect for this plane. We originally flew them with 6×3 propellers, but found they fly a little better with 7×3 or 7×4 propellers on 3S packs.

I had originally used this motor on my Skyfun with a 4S pack and it was a screamer, with a 3S pack, it’s pretty controlled flight. Here’s a video of the motor on the Skyfun and 4S.
For the ESC I used a 40 Amp Ace R/C ESC that came with my Mini-Titan 450 helicopter in the orange plane, and I used a 20 Amp HobbyKing ESC in the Green one. They both seemed to be up to the job with no problems encountered.
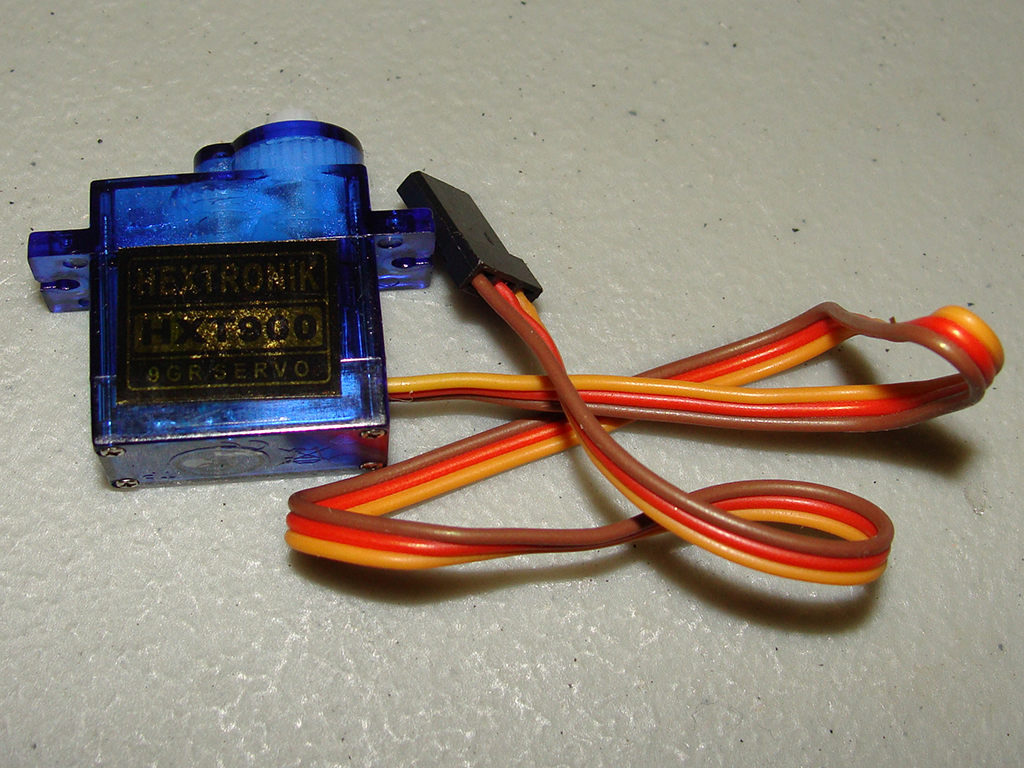
For servos on the orange plane I used a Hitec HS-65MG for the elevator and a Hextronix 9g servo for the ailerons. On the green plane both servos were Hextronix 9g servos from Hobby King. I bought 10 of them for something like $10 on some big sale they had a year or two ago, they’re not that cheap now, but 3 or 4 USD and work surprisingly well for what they are.
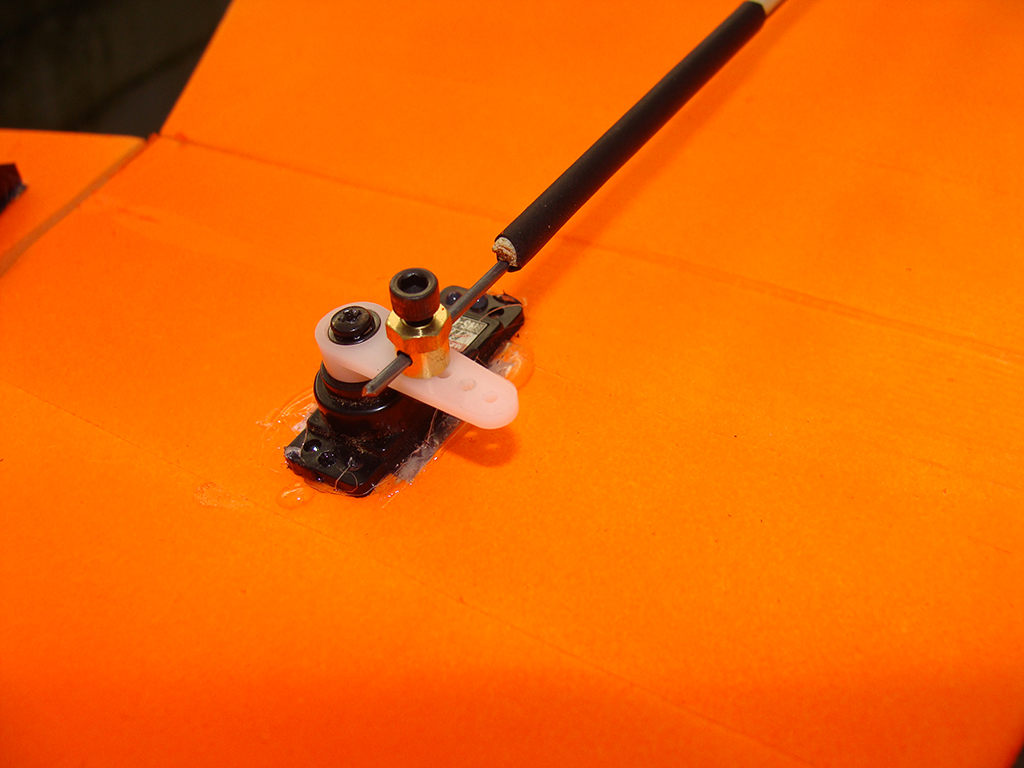
For the elevator control rod I just used some thin piano wire with screw links I got from the local hobby store. I stiffened the pushrod with a piece of bamboo BBQ skewer and some heatshrink.
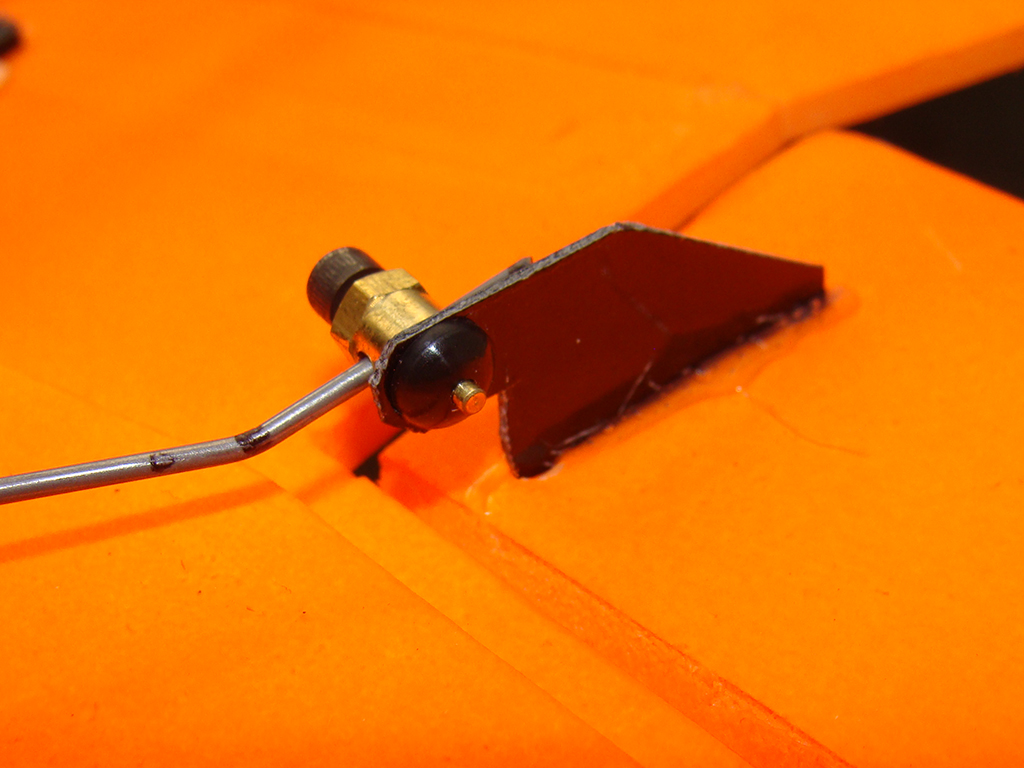
I didn’t have usable control horns for the control surfaces so I had to make some of my own. I had some thin (0.8mm) FR4 material which is basically just a thin fiberglass sheet, so I cut control horns out of that material with scissors and they worked out pretty well. I scuffed the part that goes into the wing with sandpaper to give the hot glue a rough surface to lock into.
In my plane I put a Spektrum AR7200 receiver and satellite which I had floating around. Ollie installed a micro 4 channel FM receiver in his Green plane.
Results and thoughts
These planes really exceeded my expectations for foam airplanes and are also the first foam airplanes I’ve ever built. They fly really well after a little bit of trimming and the power system requirements are pretty minimal and affordable. The most expensive part is probably the radio receiver if you have to buy one.
The planes are fairly small, so you don’t want to let them get too far out and away from you, but that will depend on your vision.
They’re great for combat, and with the low cost, you don’t feel bad if your crash or have a mid-air, just go cut up another one (or build a few at a time as spares) and you’ll be good to go.
Overall this was a good experience and combat flying is a blast!
I’m thankful to the guys at FliteTest for sharing the design and sharing their own combat video. If you don’t want to cut your own foam, you can buy quick build kits from FliteTest for a few bucks.
I’m already working on another one of their planes, the Extended Versa flying wing.
If you’ve built any of these FliteTest planes or have any questions about my build experience, please drop a comment or use the feedback bar on the left.
Leave a reply to Flite Test’s Bloody Wonder V2