
Well, I knew this part was coming and it’s been a LOT of work to work on. So far I’ve built up the main base frame of the DIY CNC Router.
Right now I’m to the point where I have to add the linear guide blocks to the main base frame for the gantry section of the CNC Router. I knew this was going to be hard. My friend Ollie suggested a few options. One was to buy Blanchard ground aluminum (too expensive) and one of which was to mill the aluminum flatish on his CNC mill, the third option being sanding the block on a surface plate, which he assures me he has done before. Unfortunately, due to a project his is doing for the company I work for, he doesn’t have time to help out with the CNC mill, which I totally understand. So sanding it is!
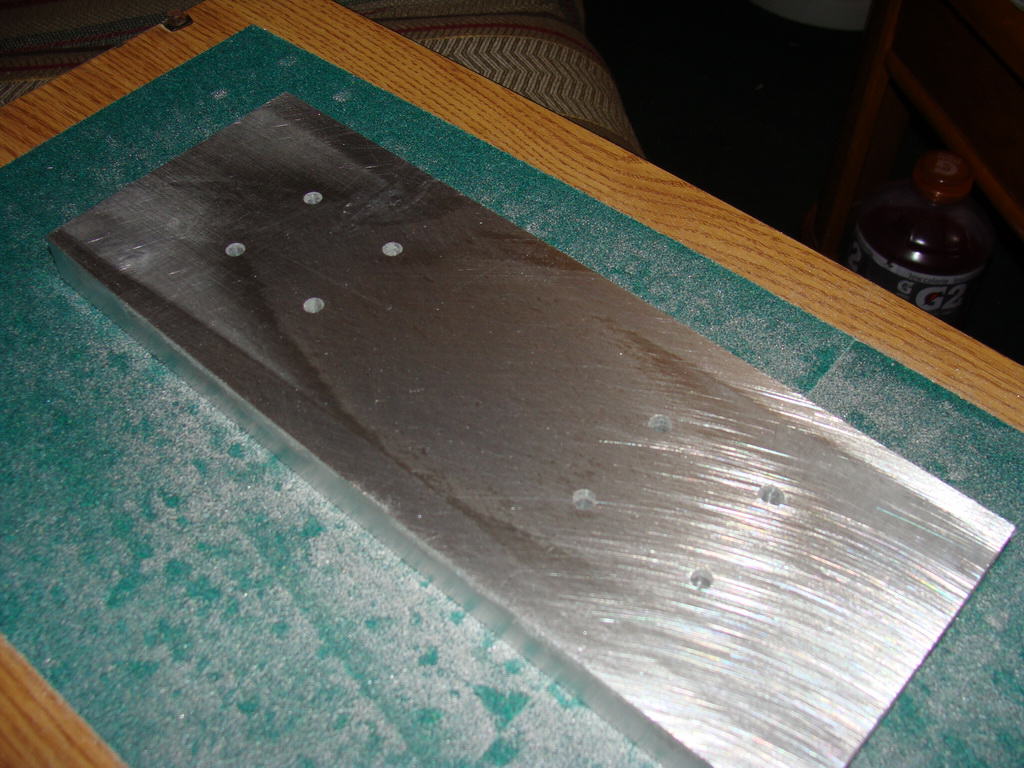
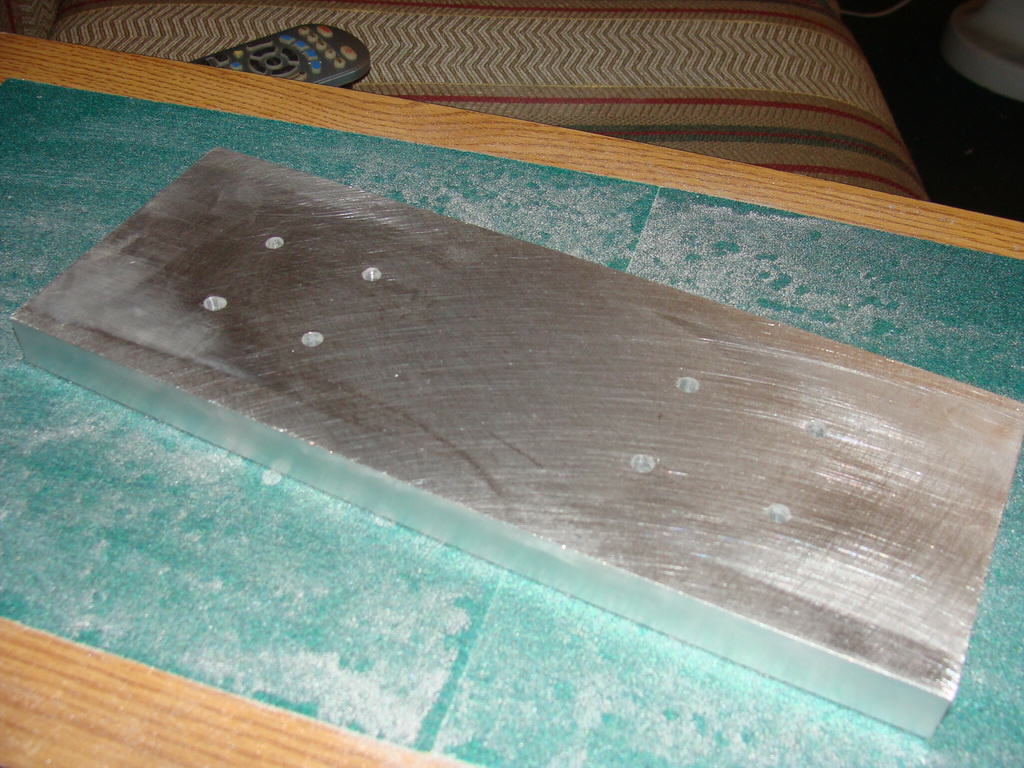
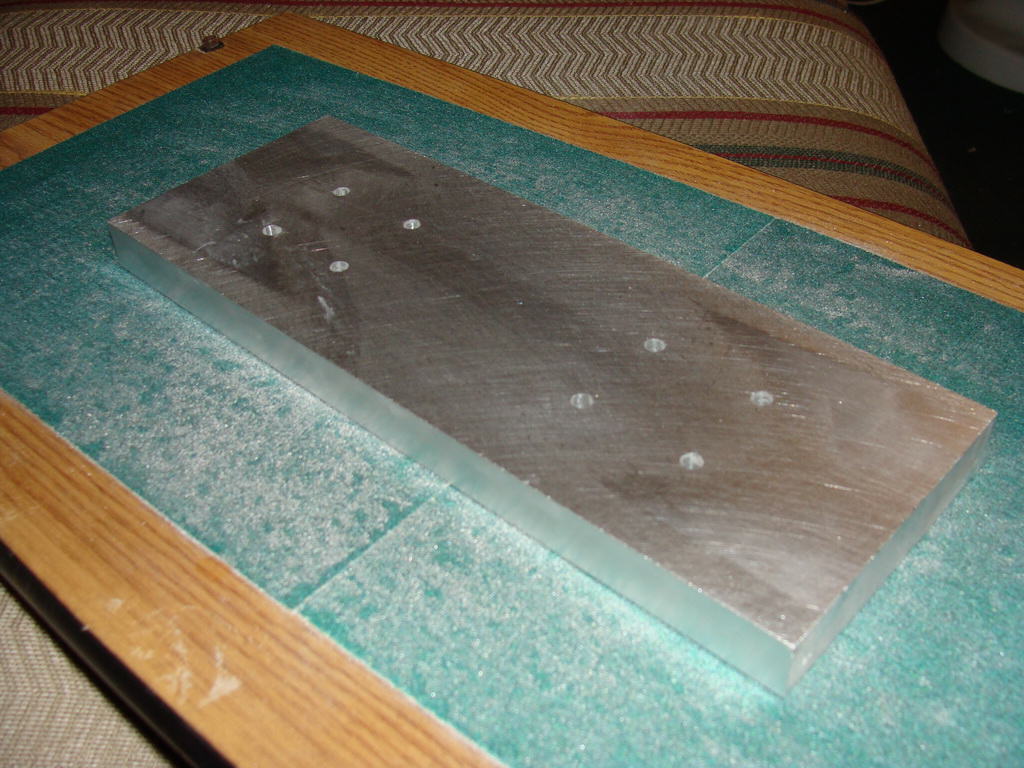
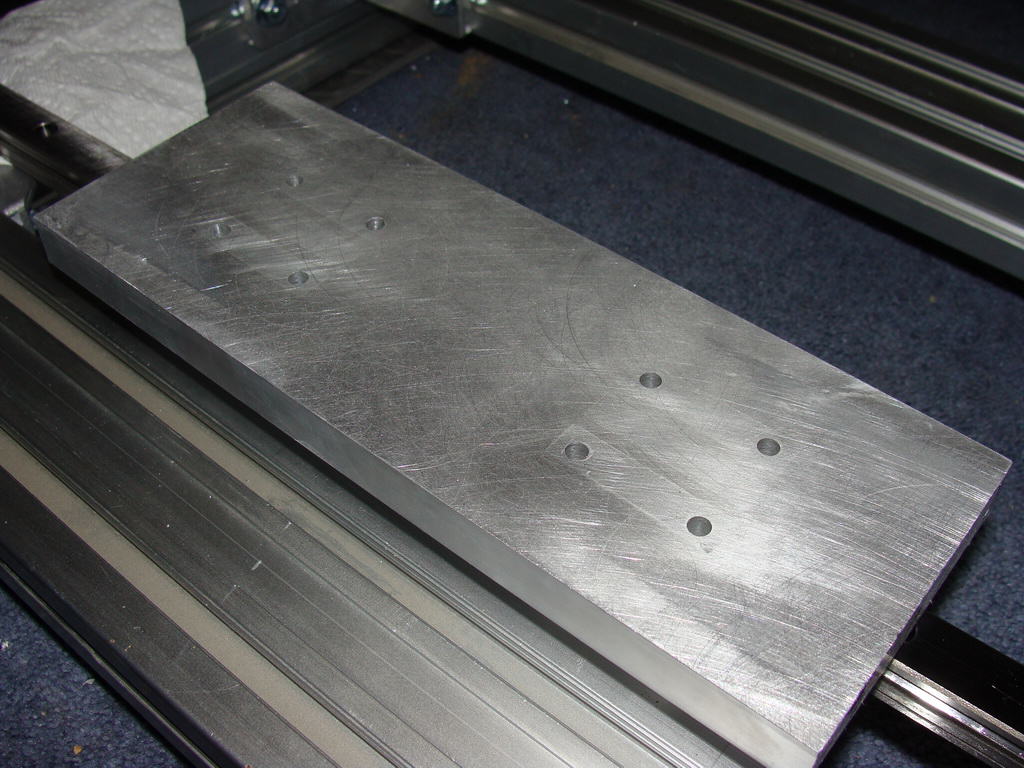
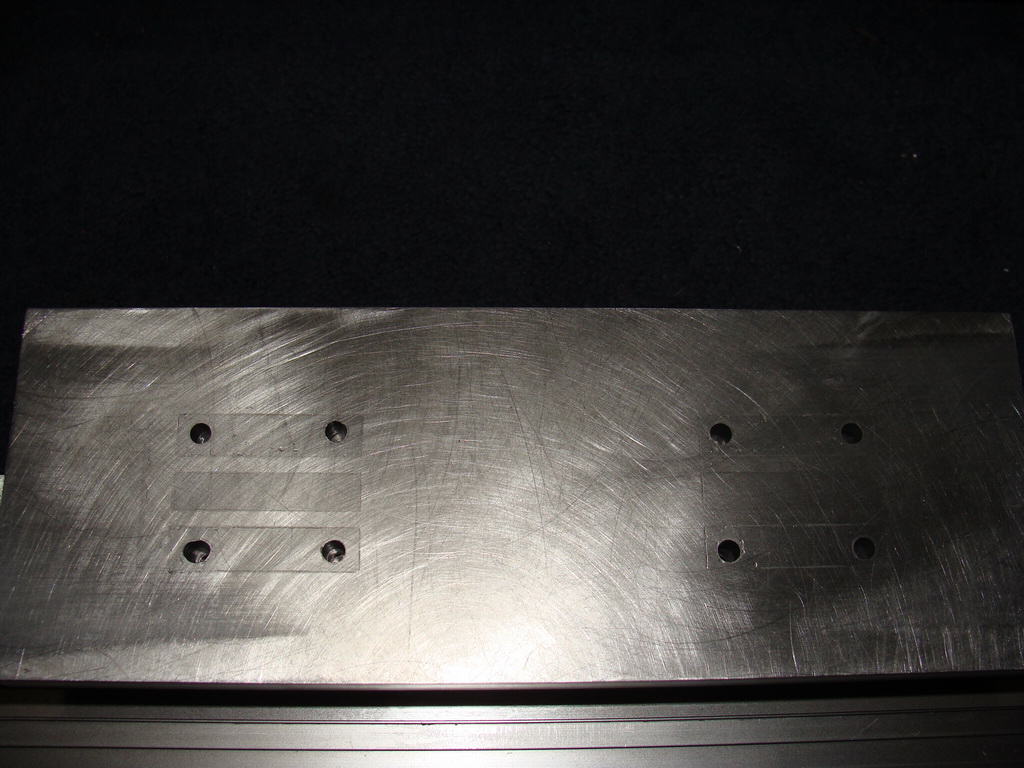
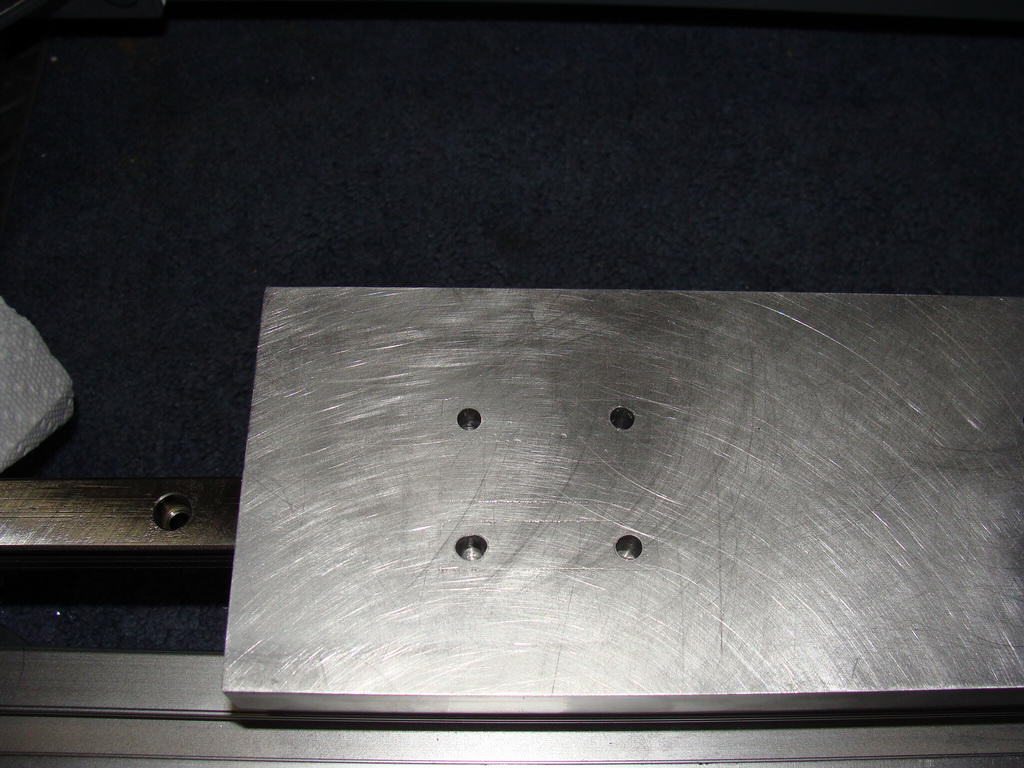
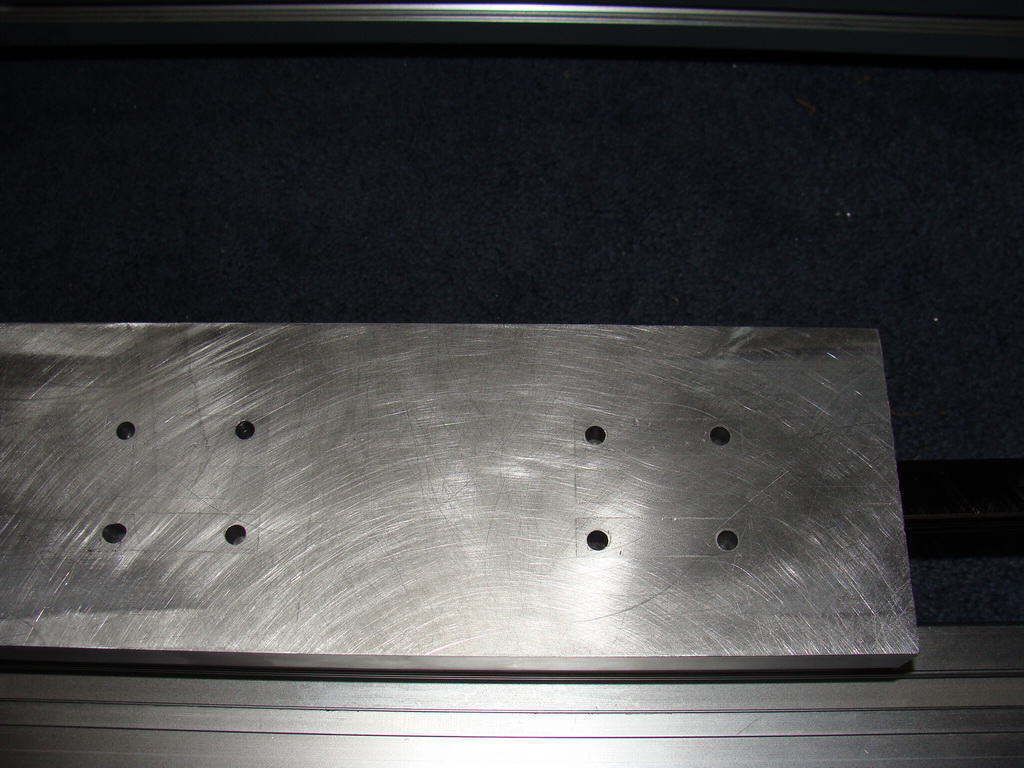
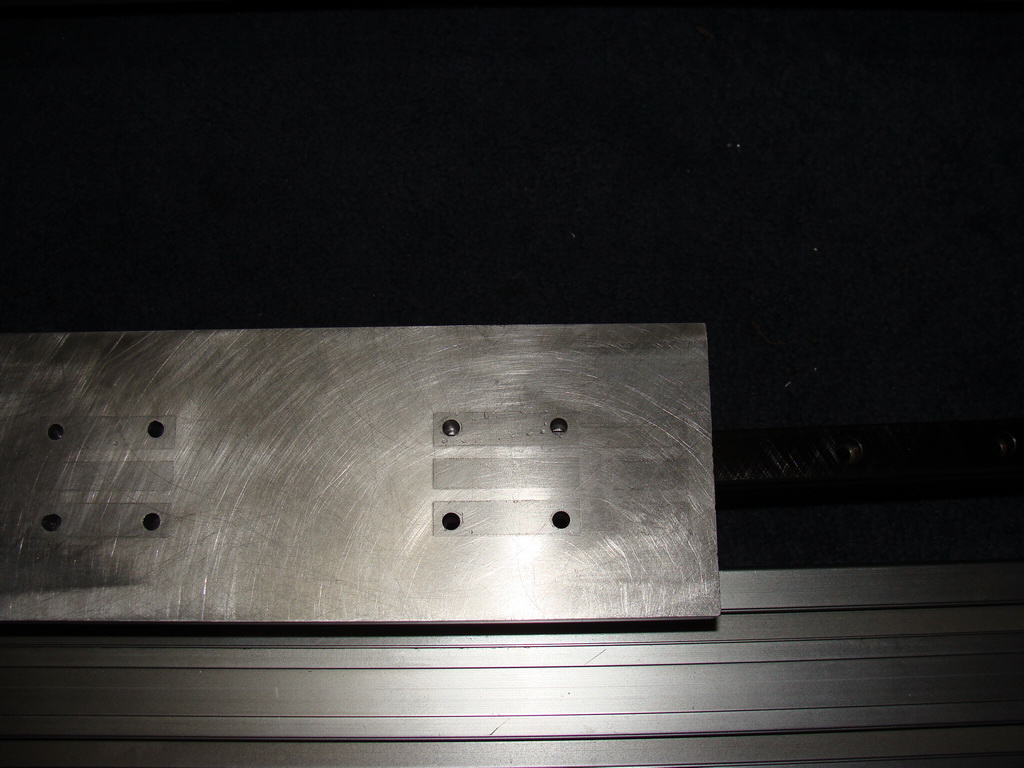
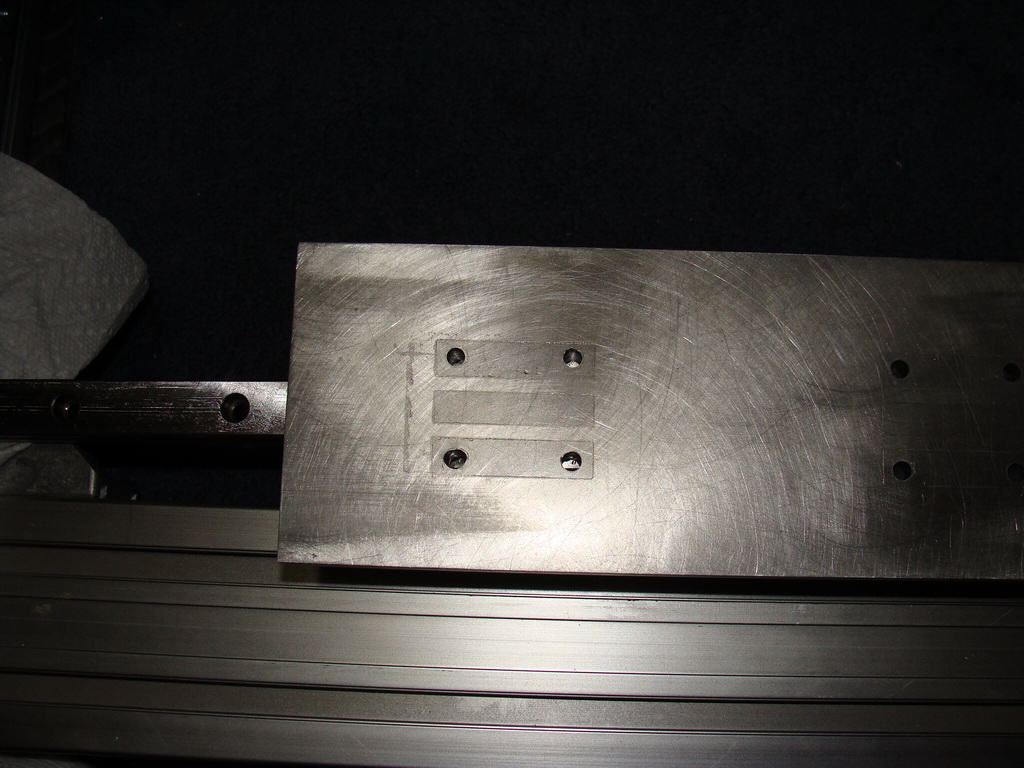
I don’t have a surface plate so I’ve been using MDF instead. I used 3m spray glue to attach sandpaper to the blocks of MDF which I do have and have slowly been sanding my .75 inch aluminum blocks to flatness. The aluminum extrusion I purchased is just that is not flat or plane in any direction. The outer edges tend to rise up, as well as the center, but it’s ‘bulged’ in shape in the middle where I need to attach the precision rails. I’m keeping my eyes out for a small surface plate to use for sanding, but the MDF is working ok for now.
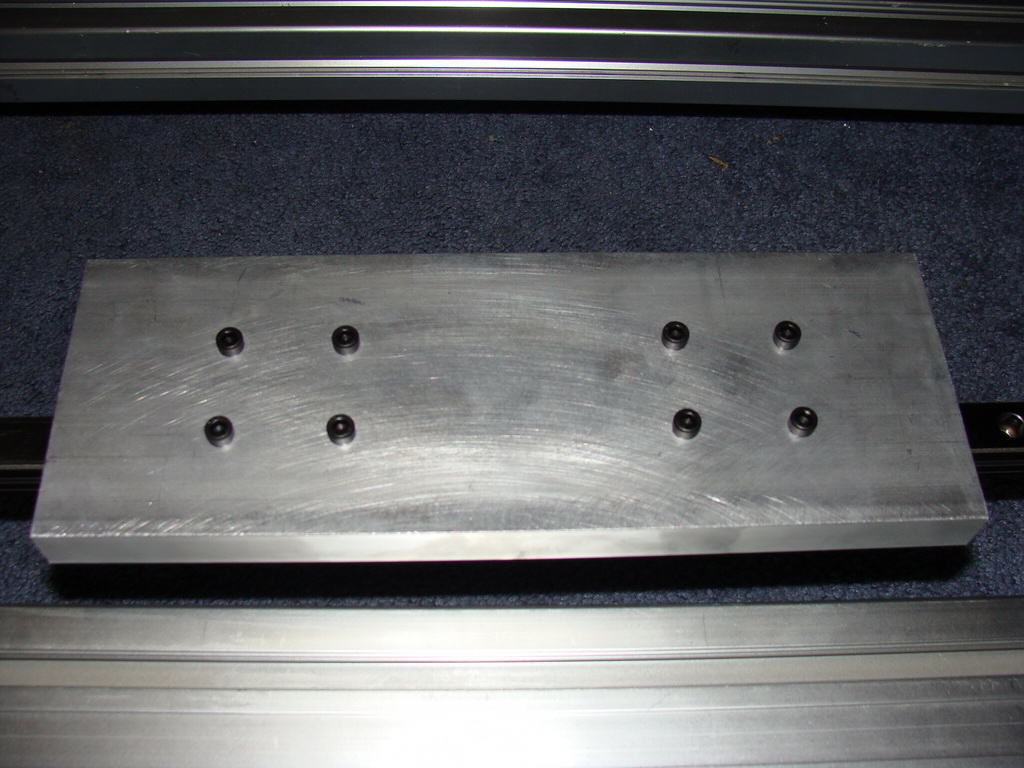
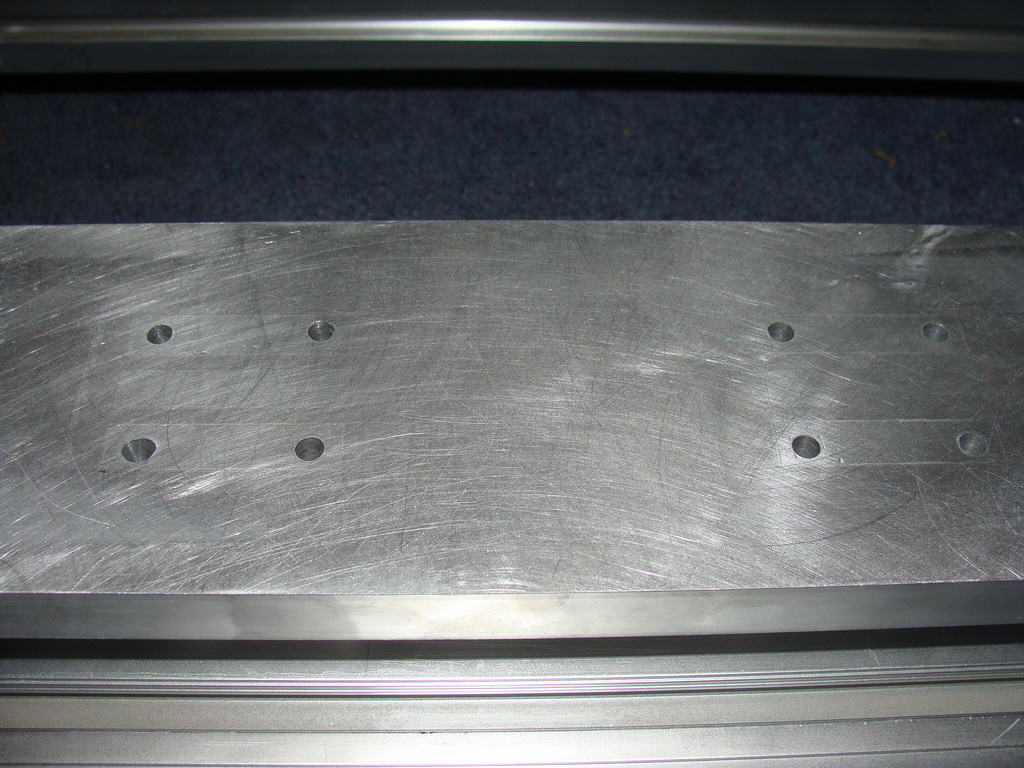
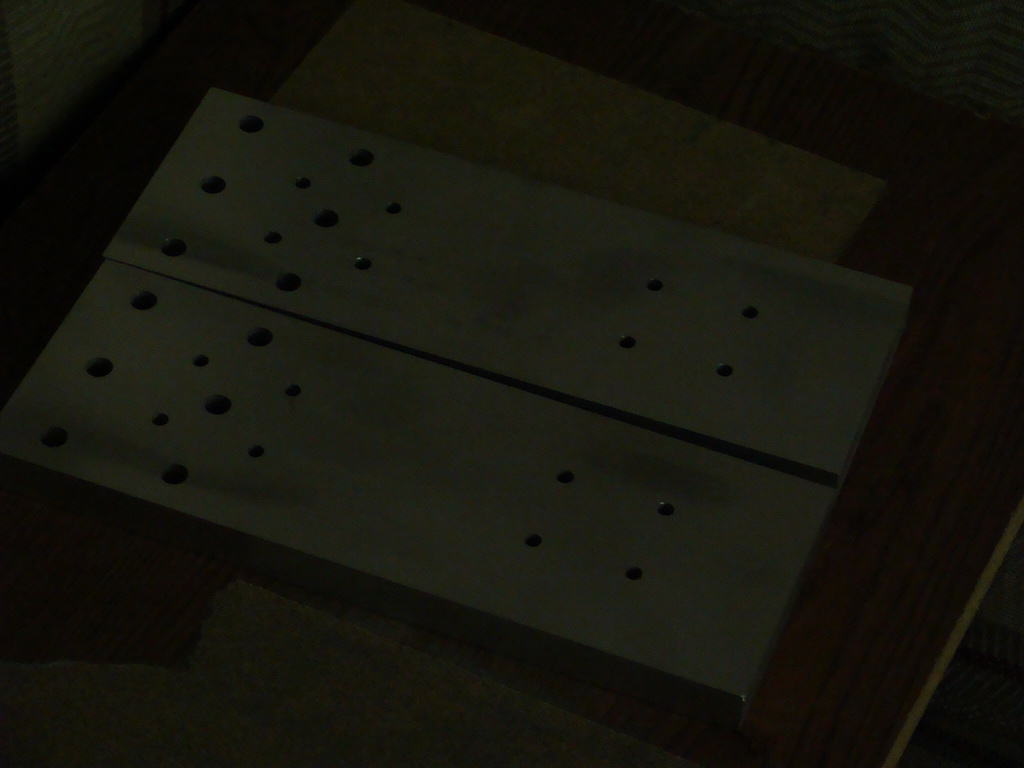
I glued the sandpaper onto the MDF boards and slowly began sanding the blocks about a week ago. I’ve been sanding them while I’ve been watching TV and passing time, but it takes quite a bit of time. In between the sanding process I’ve also added some new holes to the blocks. I figure that they reduce sanding surface area overall and speed the process up.
I’m going to cut short on this post and just show you the block sanding pics that I’ve taken. I’m working both sides of the extruded aluminum bar and getting closer.
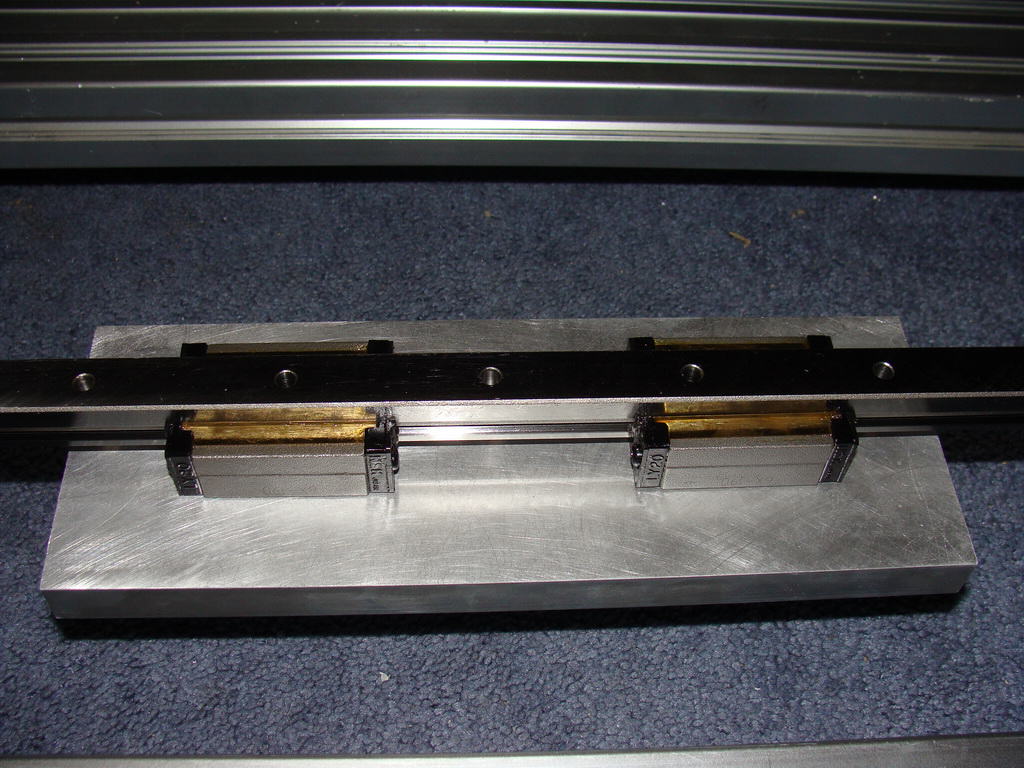
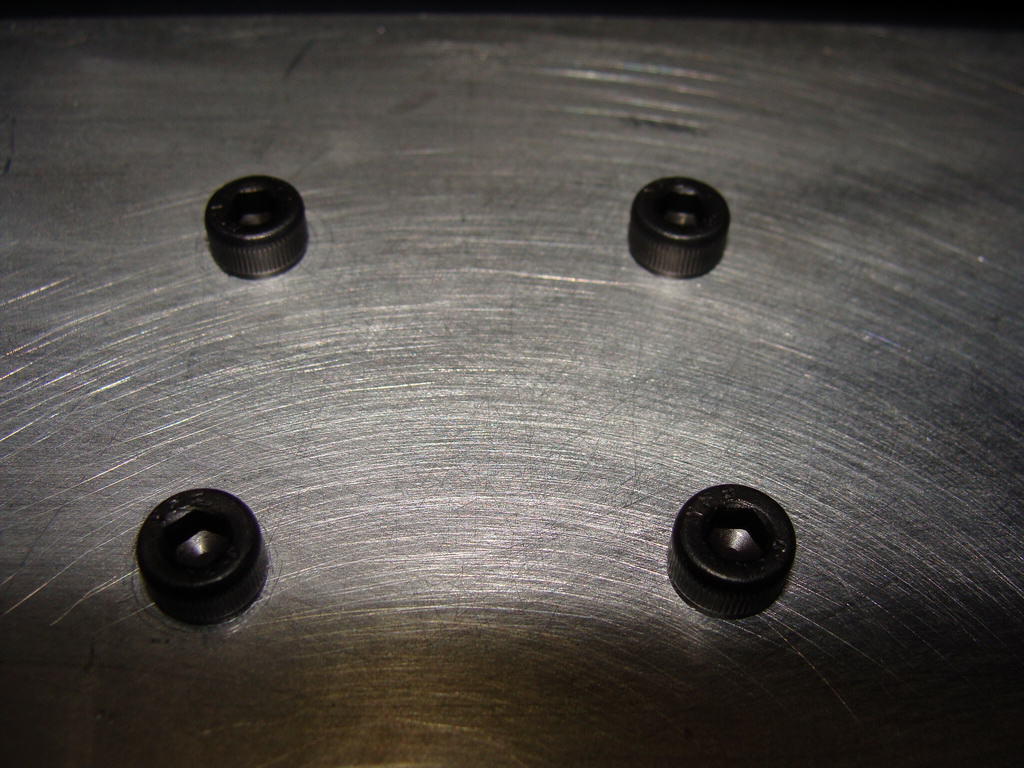
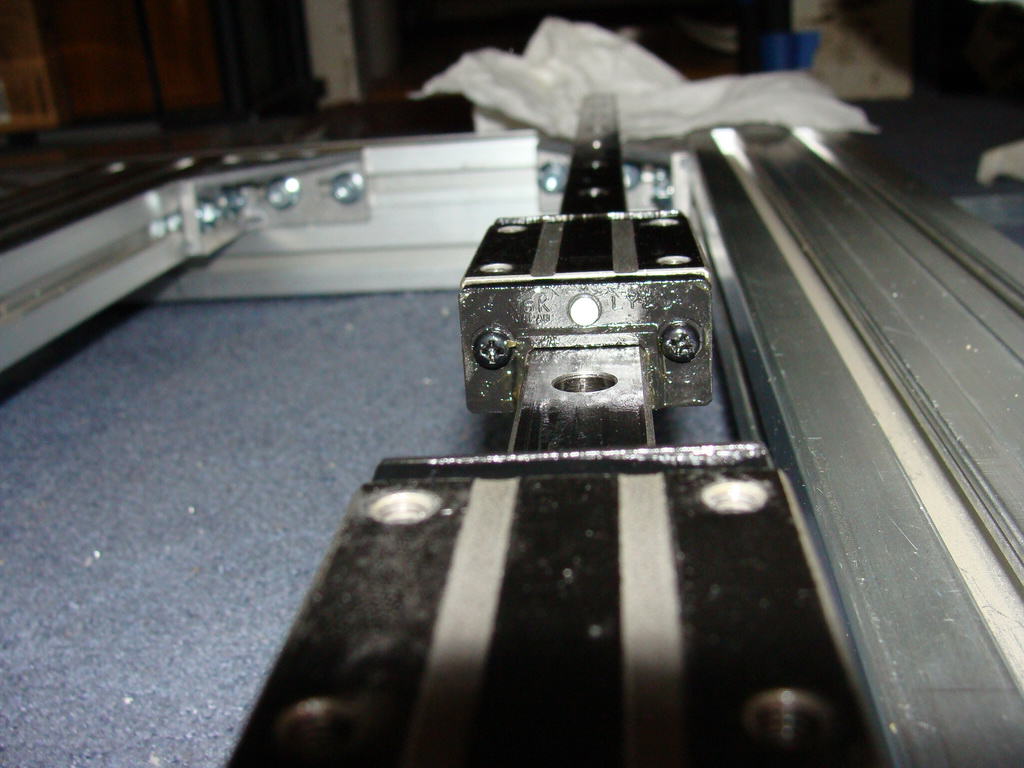
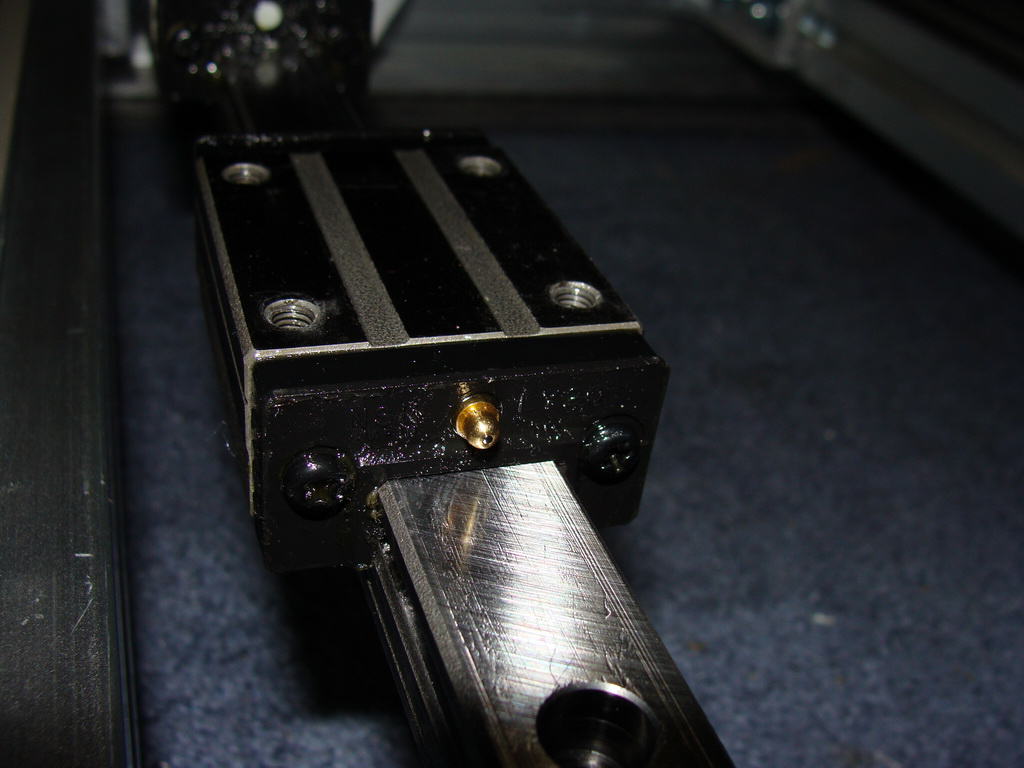
One thing I noticed. I drilled the raw aluminum block and it took quite a few partial-turns to clamp it down to the linear car for the linear guide and cause the car to bind. When I started sanding it greatly reduce the number of partial-turns required on the 5mm screws to secure the plate to the car. Right now I can finger tighten the screws through the plate and into the linear guide’s car in about 1/16th of a turn. Meaning I turn the screws down by fingers, and when I apply the wrench they almost immediately ‘lock’. This is a good sign!
Here are the pictures of this really long and extensive component part of this project. I’d totally suggest buying Blanchard ground aluminum if it’s in the budget. While this IS doable, the large plate for the z-axis is going to be a nightmare if I have to do it this way!
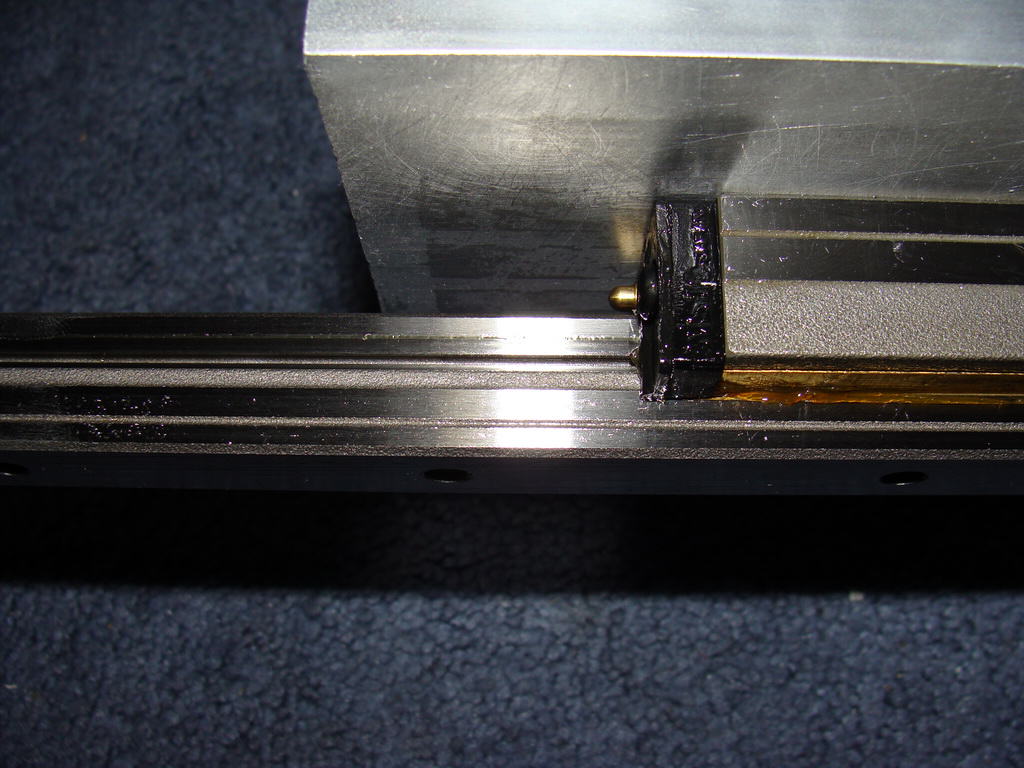
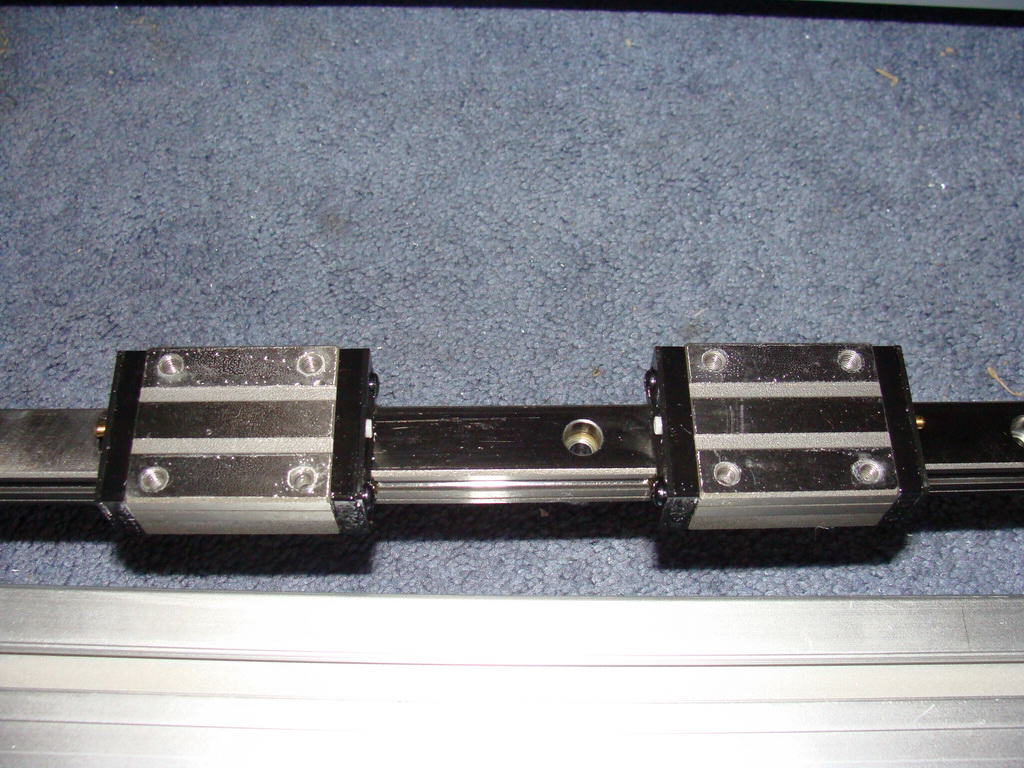
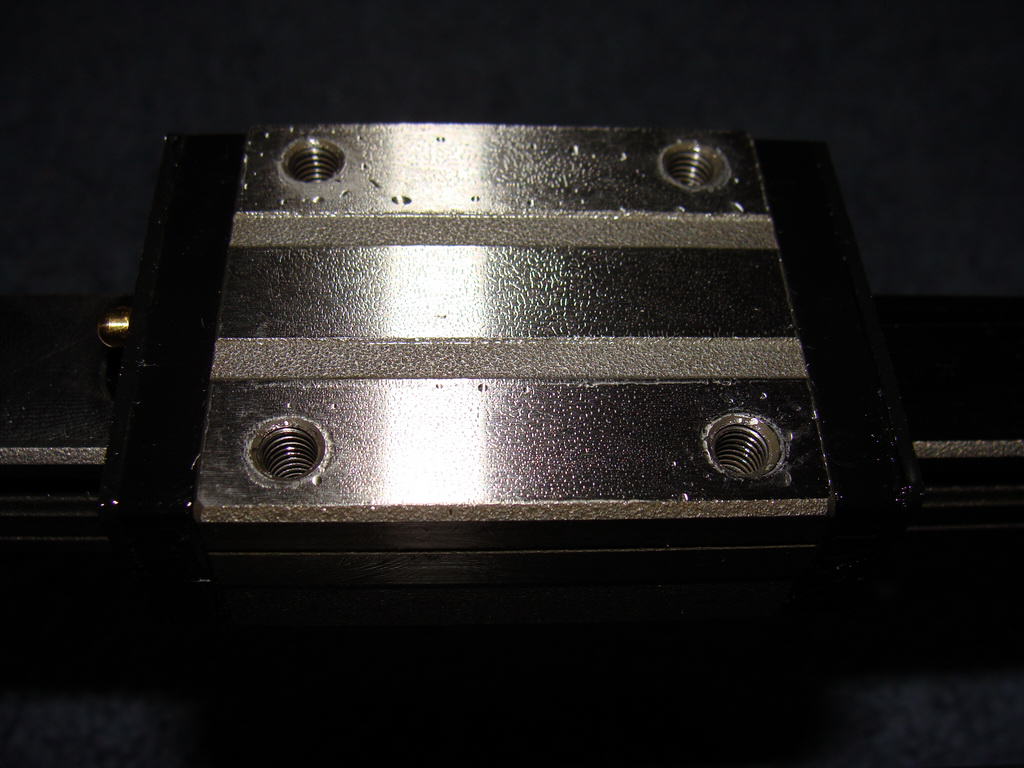
In the gallery below you can see the various states of sanding and test fitting, as well as some close ups of the NSK Linear Guides. Enjoy!
Previous: Changes and Progress
Next: Y-axis Construction 1
Search CNC Posts
1 responses to Part 7: DIY CNC : Argh Precision Linear Guides!
I have used a piece of old granite that was the cut-out from a kitchen counter top. Then you lightly spray water on it and use varying grit wet or dry sandpaper. The water hold the paper like glue but its way easier to switch out. Plus the granite is super flat and polished.
Leave a reply to Part 7: DIY CNC : Argh Precision Linear Guides!