I’ve been tempted to build a 3D Printer for the last couple of years. I’ve followed their development on reprap.org and on message boards and forums but never really liked the print quality and the ribbed, non-smooth appearance of the printed items. A few months ago I finally decide to try out the 3D Printing thing and converted my CNC Router into a 3D printer by using QU-BD extruders
 The RepRap design is the common denominator of most DIY 3D printer designs in existence, although there are some exceptions to the mechanical design, the electronics components are are very similar in purpose and function.
When I had the converted CNC machine printing 3D parts is when I decided that I wanted to build a purpose built 3D printer, then I would get my CNC router back for it’s original purpose, and in an emergency I could print parts for my 3D printer if needed. I had some black OpenBeam extrusions so I started looking for 3D printer designs based on the OpenBeam material and only found a couple. One was the “OB1.4 open beam 3D printer by Wired1” on Makerbot’s Thingiverse.com site and it looked pretty good to me.
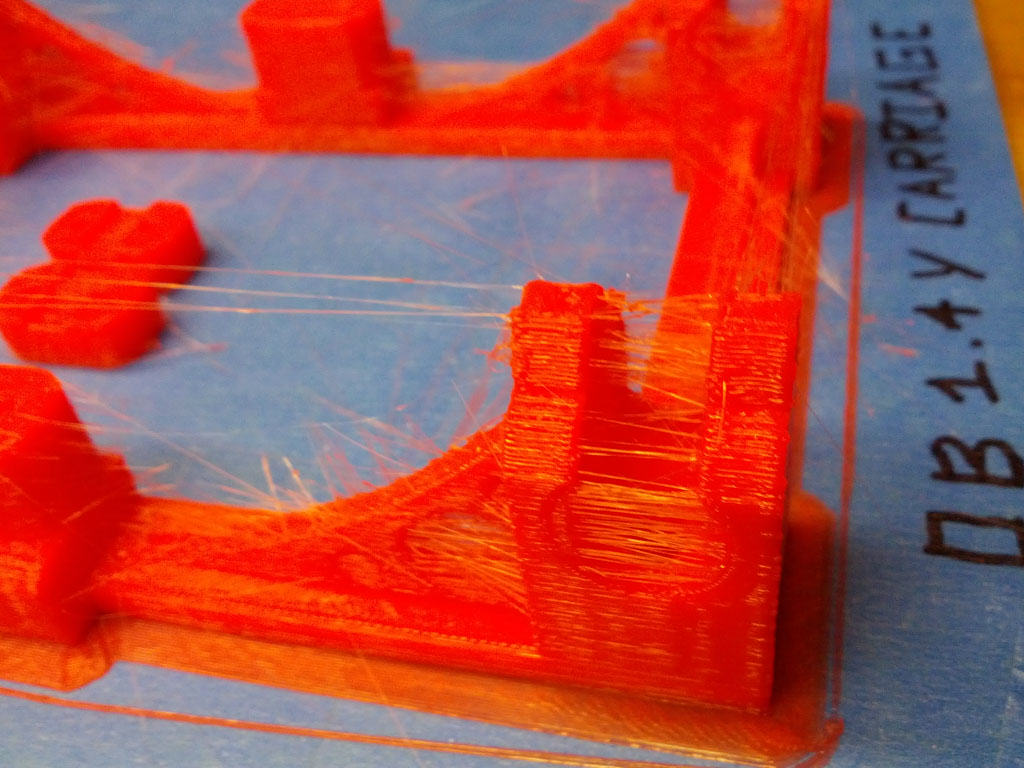
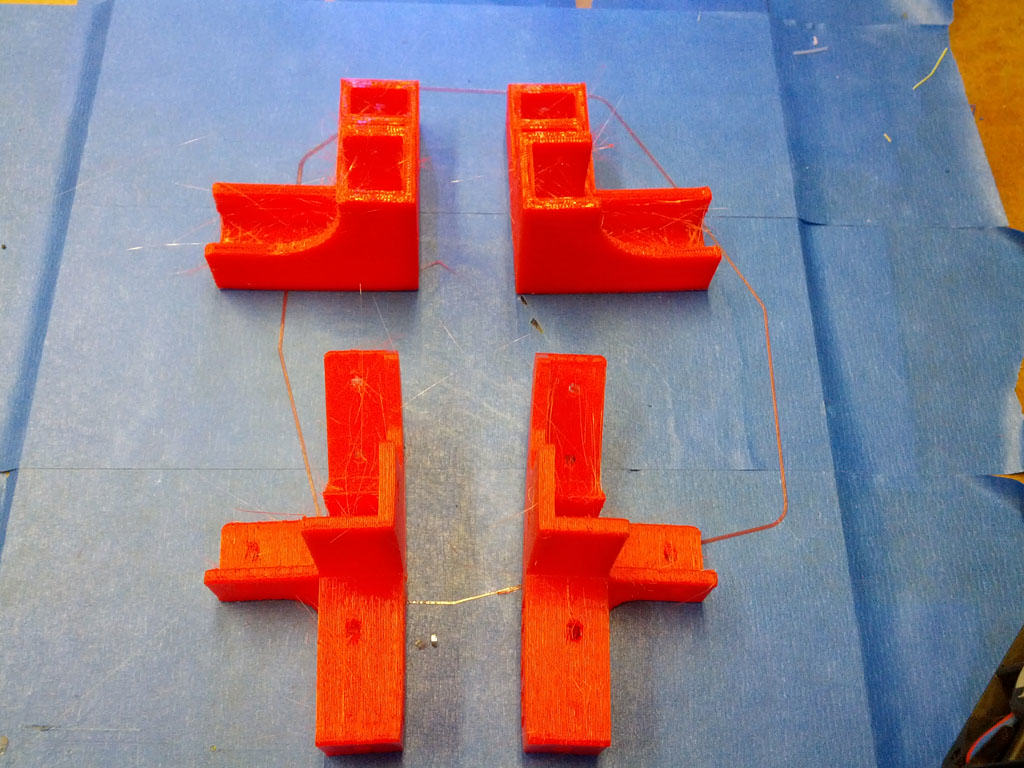
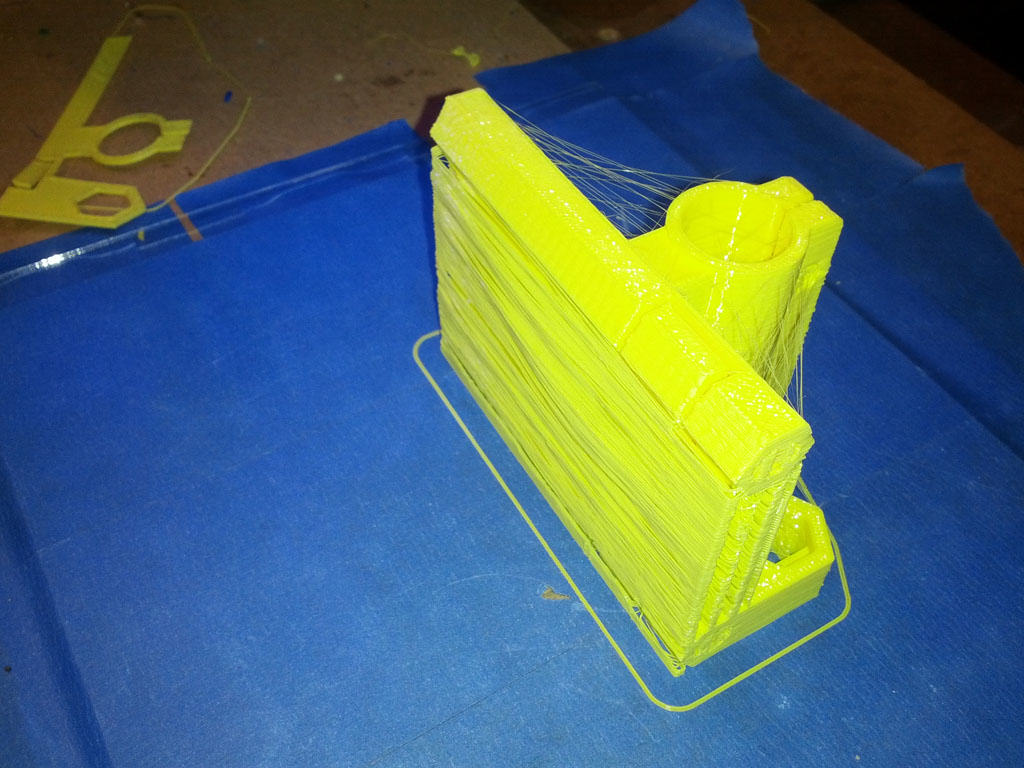
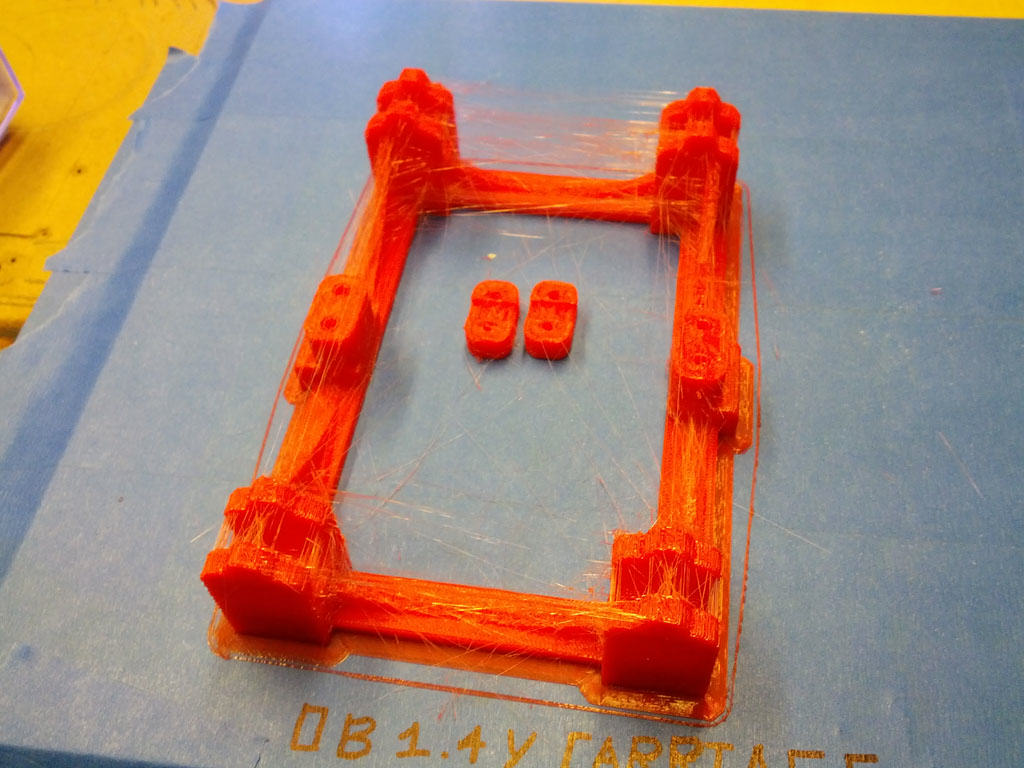
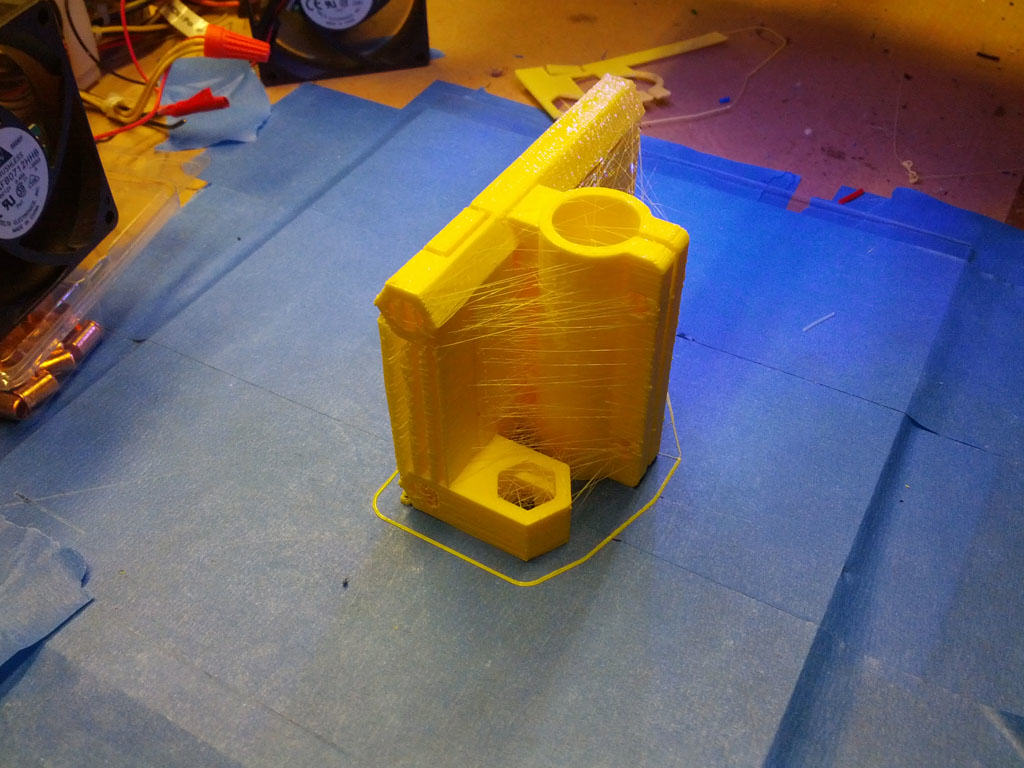
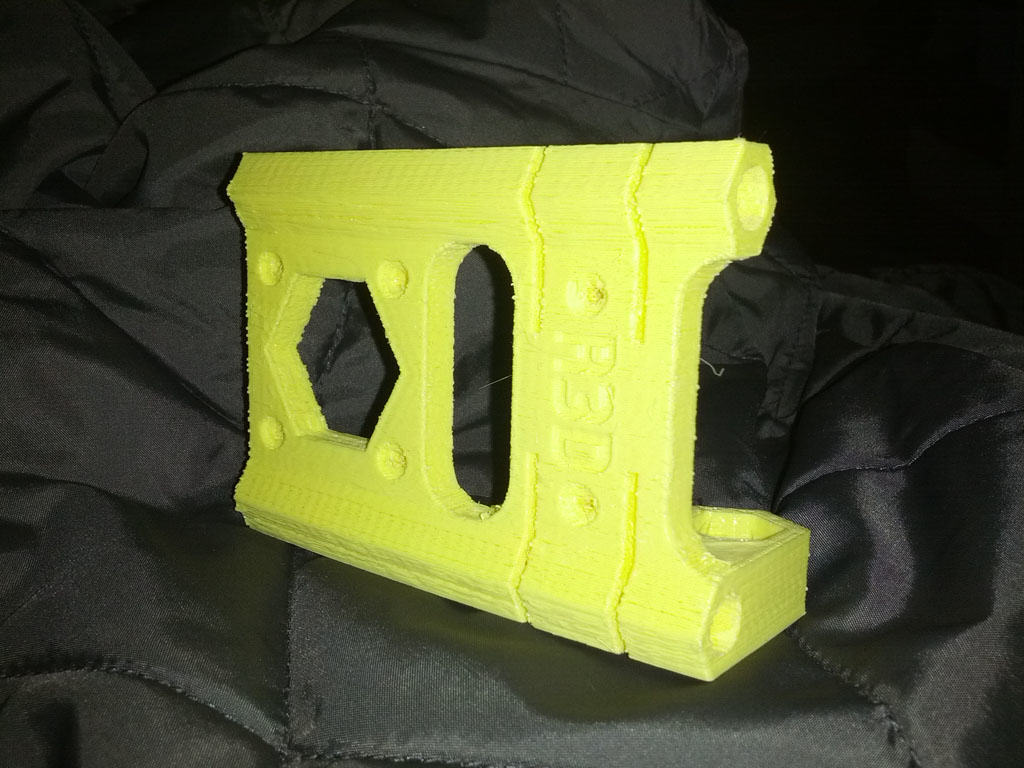
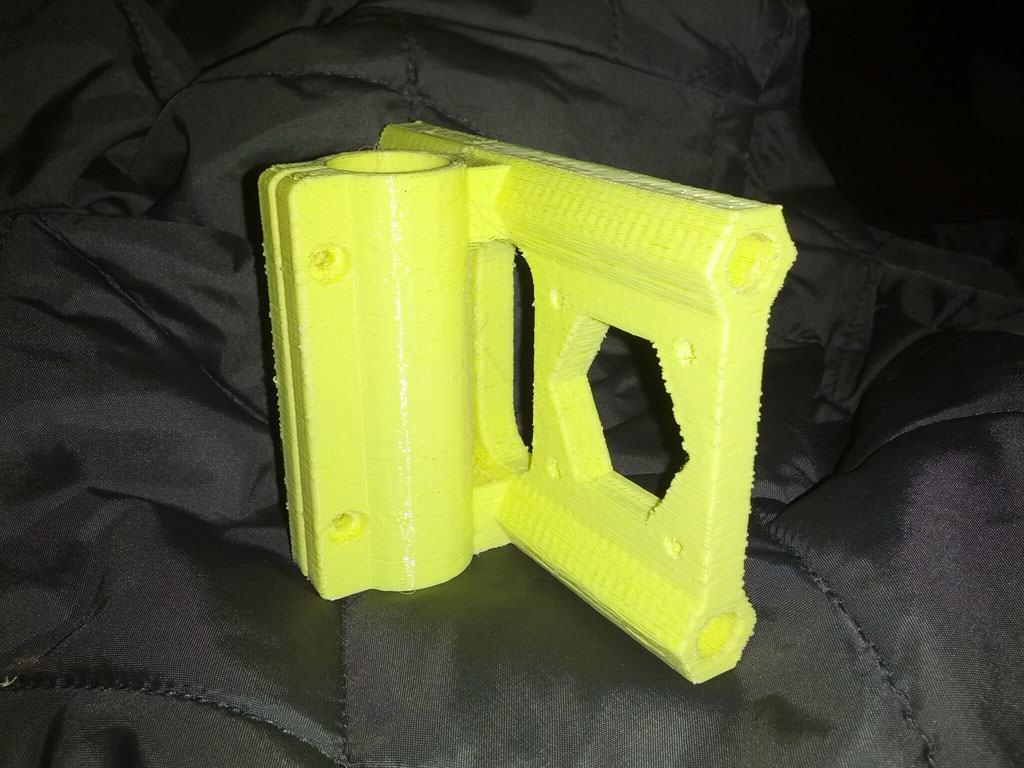
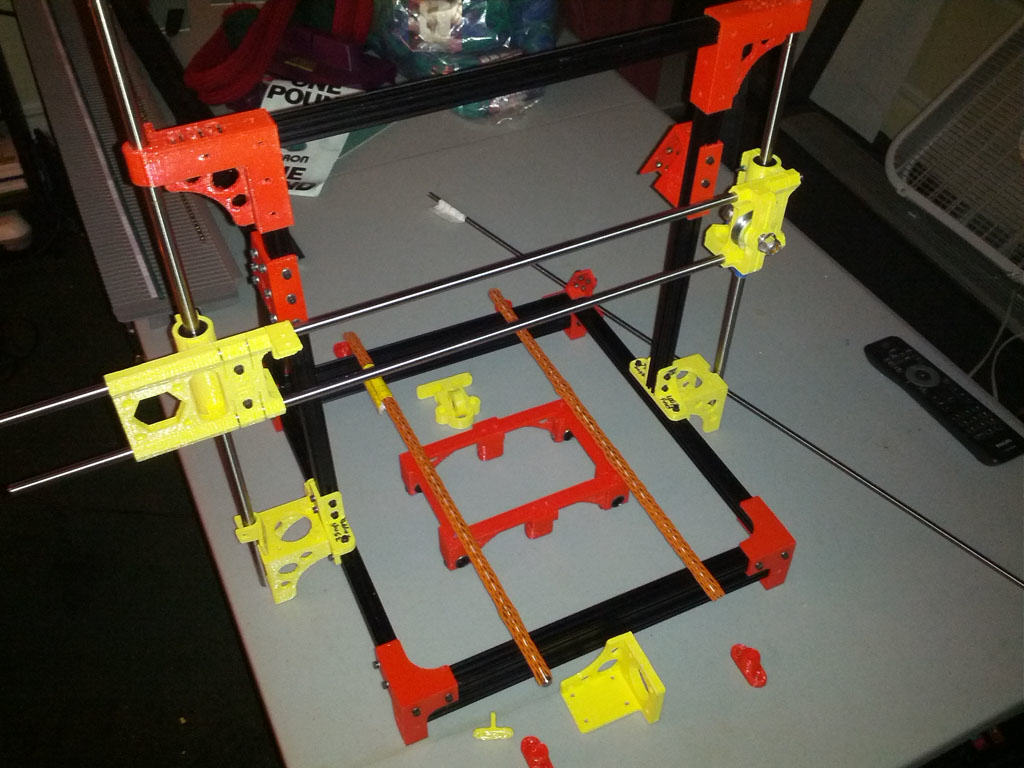
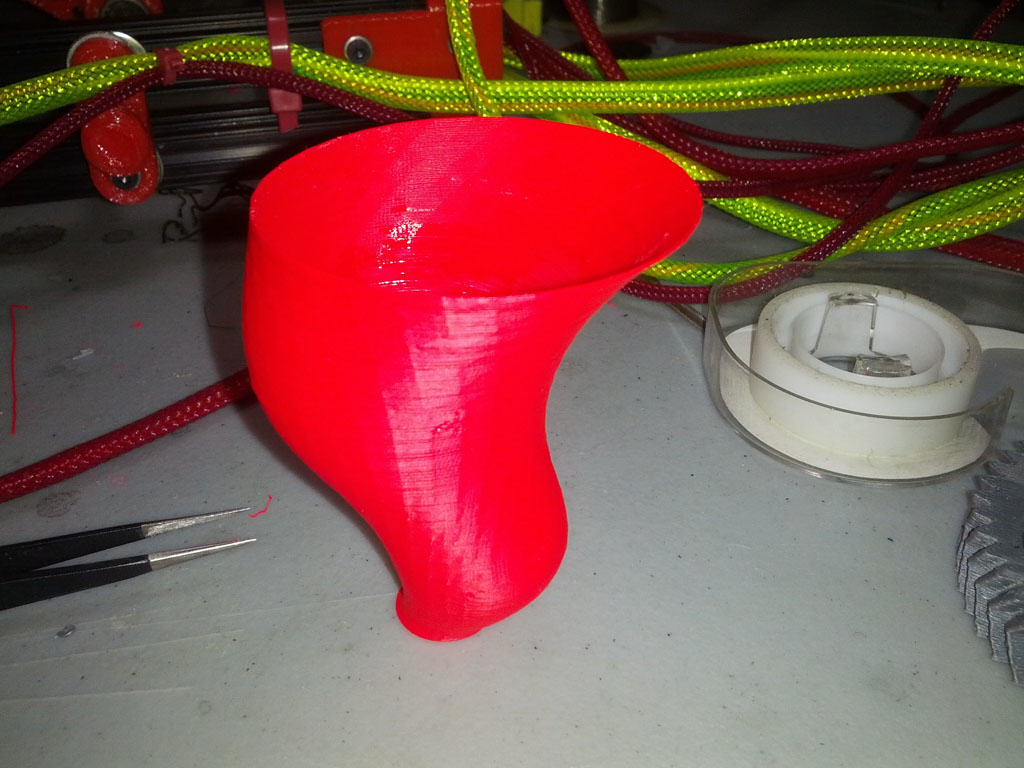
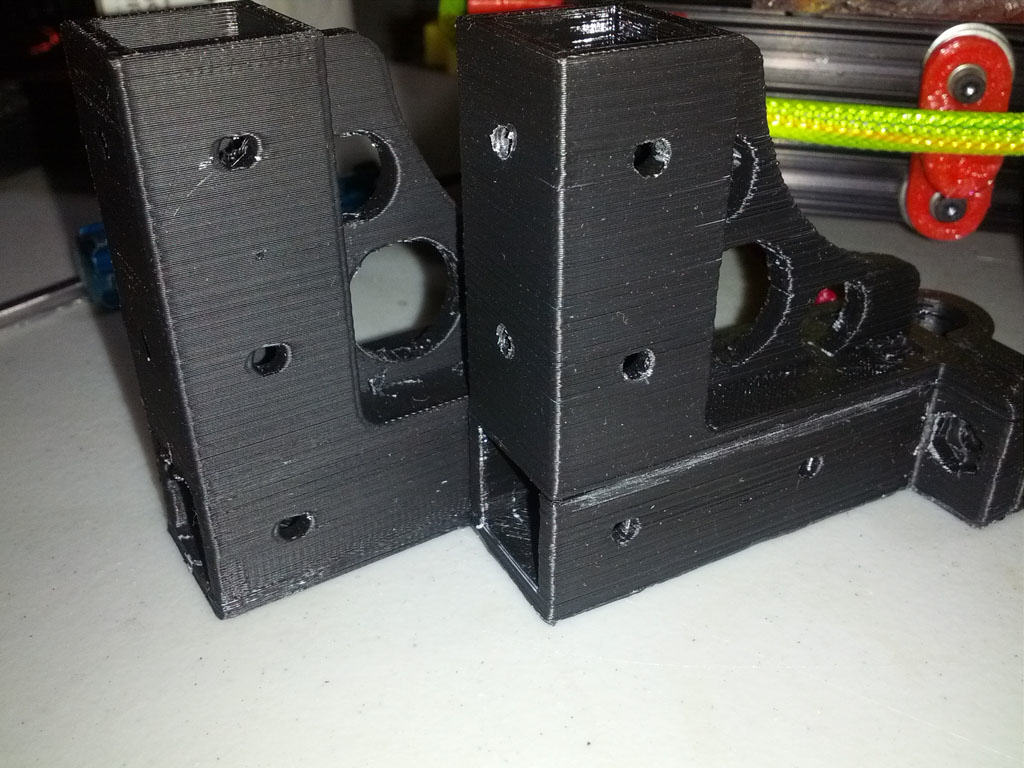
Almost immediately I started 3D printing the parts for my new 3D printer. I was a bit concerned as the only material I could print in at the time was PLA which has a low melting temp which could be problematic on things like the plastic extruder components and motor mounts, but I went ahead anyways hoping I could get a working printer, then print parts in ABS which is much more temperature stable. Here are some photos of the parts I printed on the CNC 3D Printer in PLA. The filaments are from Ultimachine, a translucent fluorescent red and a fluorescent yellow. Due to some problems I had with the QU-BD extruder and reliability (later narrowed down to a faulty PID controller I got from eBay) it probably took me two weeks of evenings and two weekends to finally get all of the parts printer.


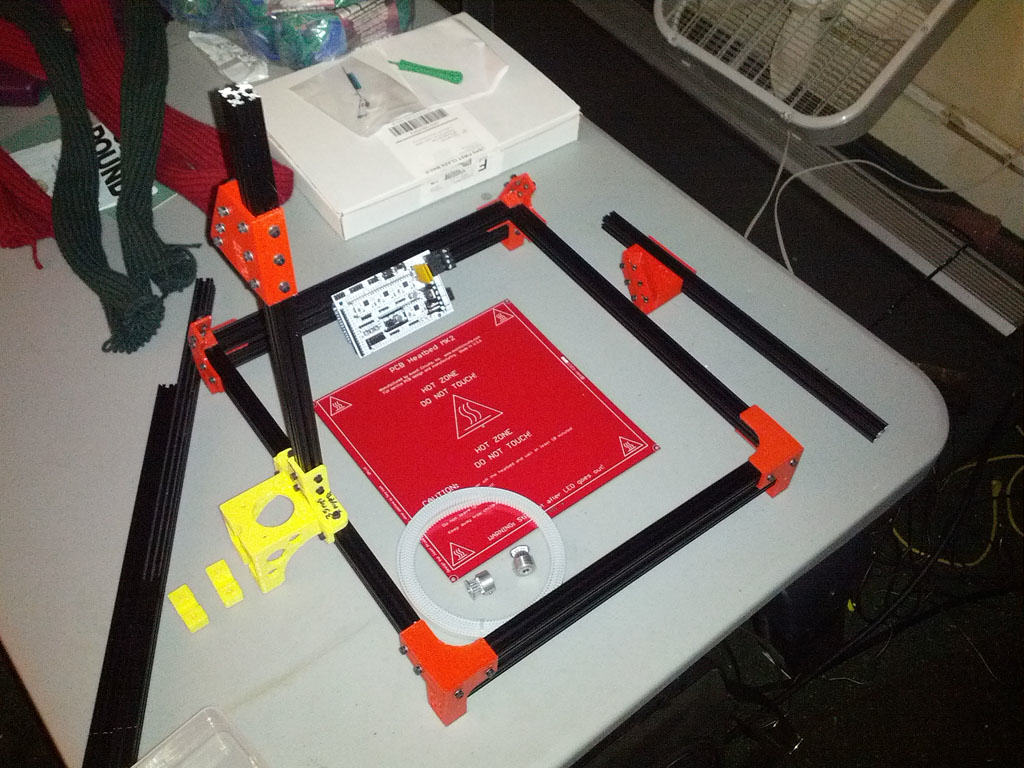
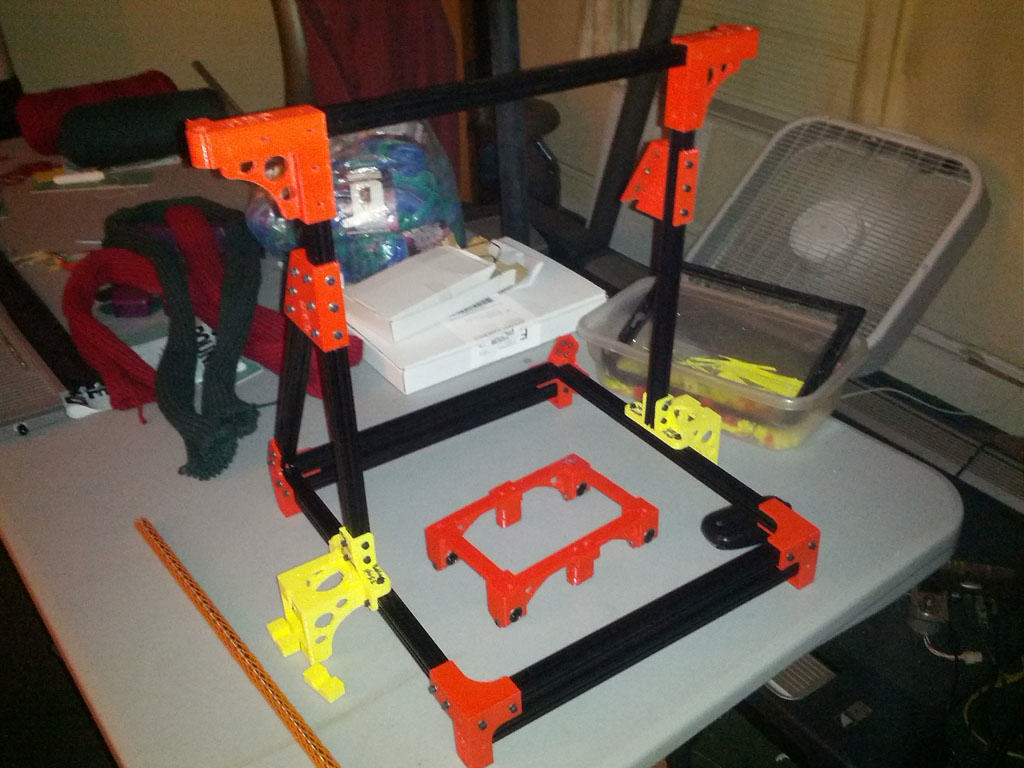
Once the parts were printed and I had received the other necessary hardware for the build from McMaster-Carr, the Budaschnozzle 3D Printer hot end from Lulzbot, Arduino MEGA + Ramps 1.4 and heated build plate from eBay and various other bits from Ultimachine the OB 1.4 printer started going together very quickly.

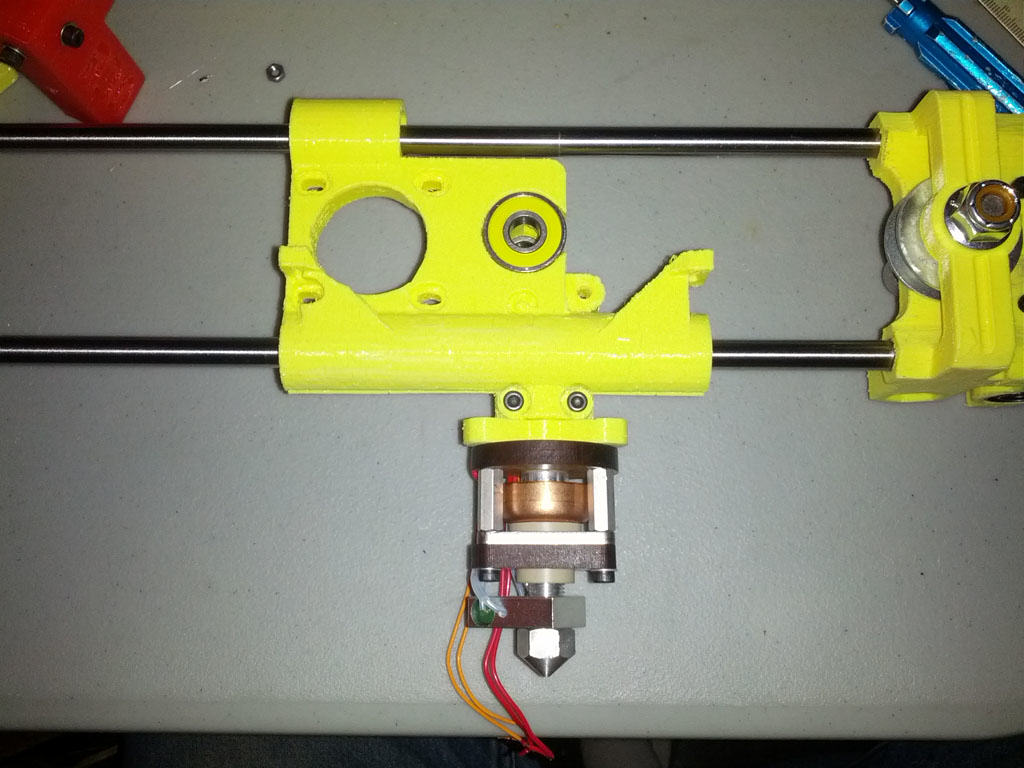
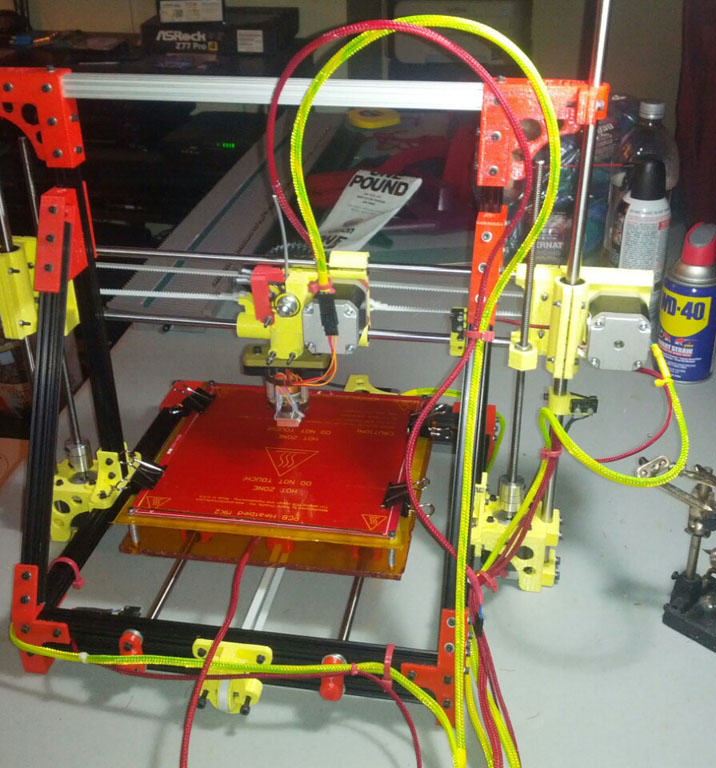
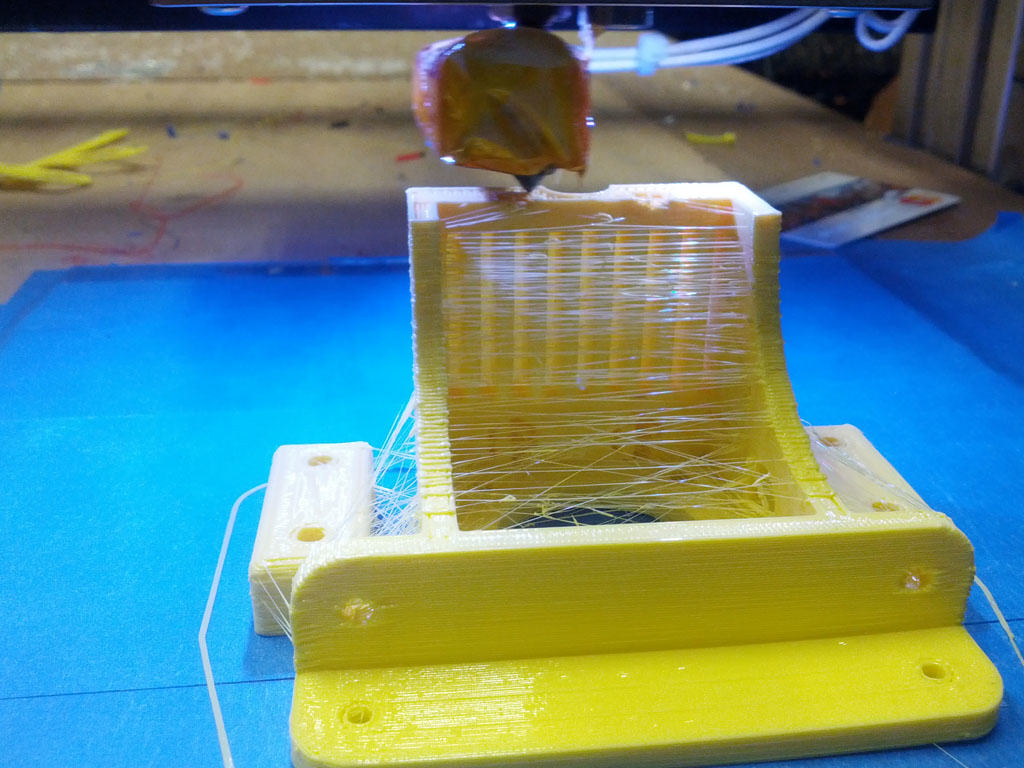
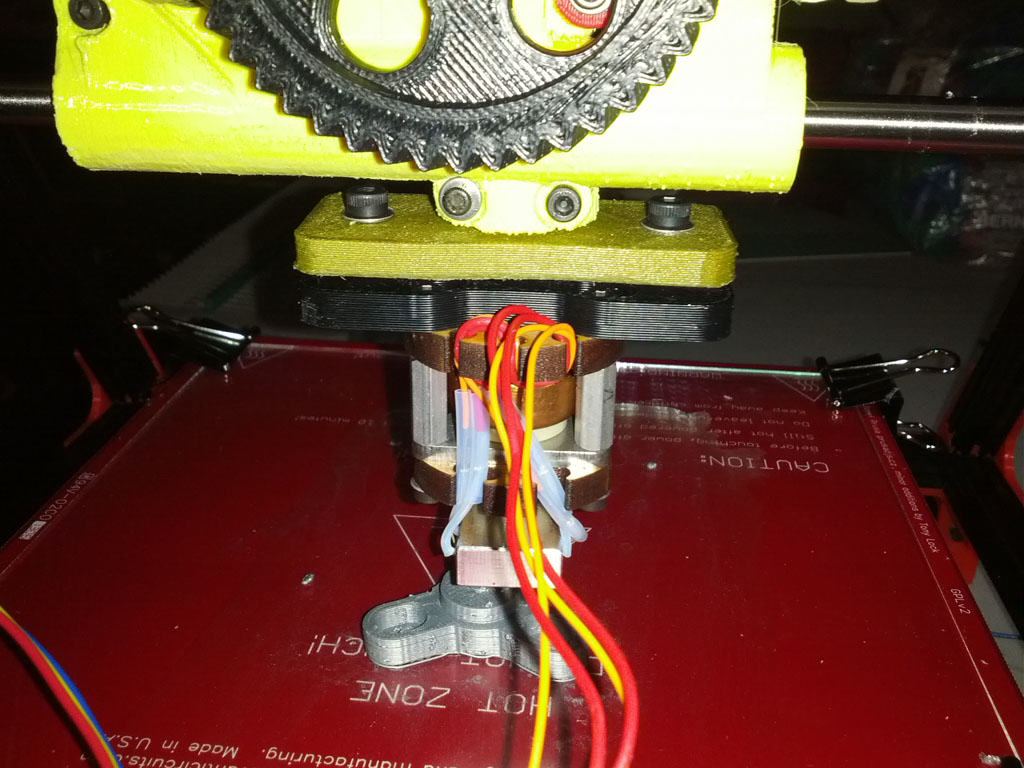
I went a different way on the build than the stock OB1.4 OpenBeam 3D Printer design. I had read about some possible issues with Bowden tube setups and filament retraction and wanted less parts for less problems. Instead of the original Bowden tube filament feed I went with a direct feed Wade style extruder on the X-Carriage which Wired1 also designed called the Highly Accesible VertXtruder, seen above with the Budaschnozzle attached. The Vertxtruder was design for J-Heads, so I designed an Budaschnozzle to JHead adapter which you can download from Thingiverse if you like. The vertXtruder is still experimental and needs some finessing in the design, but it can and does work!
I also bought a J-Head in case the Budaschnozzle and adapter didn’t work out as planned. I’ve not used the JHead yet as I prefer the removable nozzle design of the Budaschnozzle. With the J-Head you have to disassemble the heater block which has the nozzle built in. The advantage is that it is much smaller.
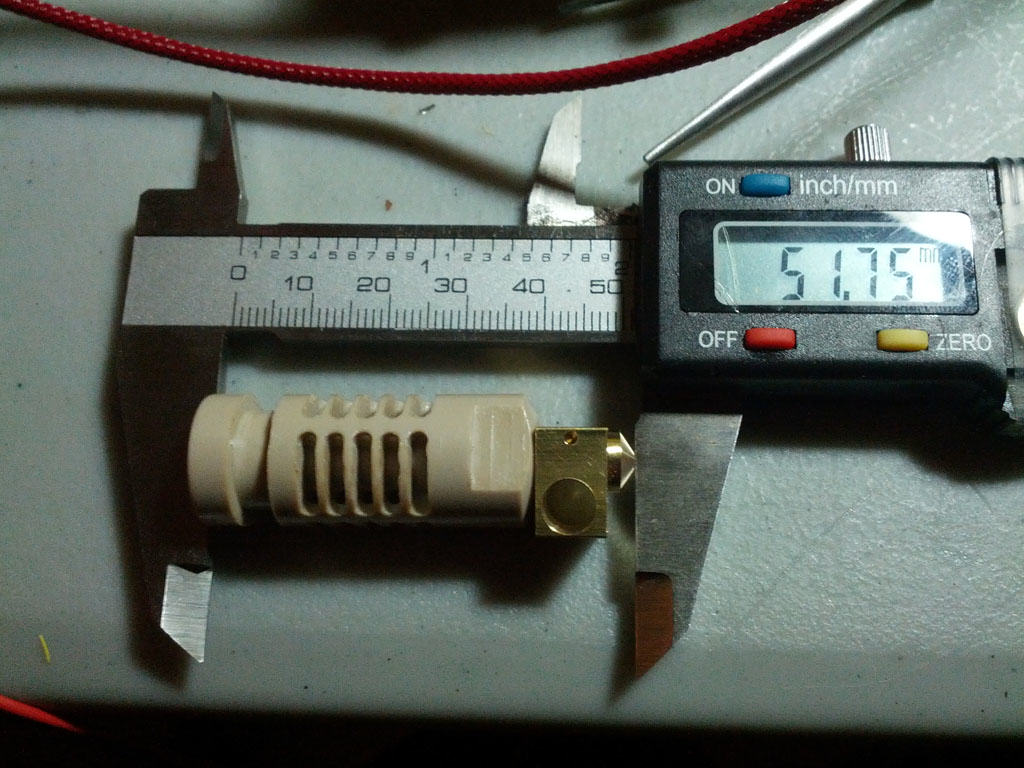
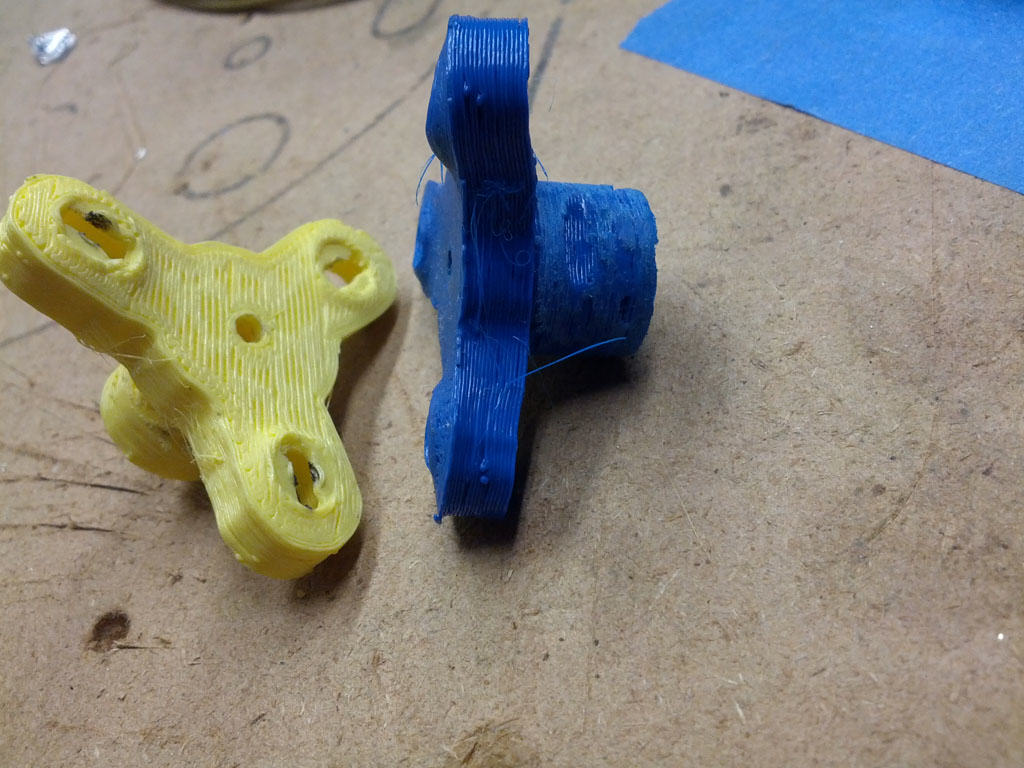
I originally printed the adapters in PLA which was a failure as seen below, they simply melted from the temps that the schnozzle reached.
 To resolve that issue I printed an alternate, temporary, JHead to Wade Extruder adapter which would let me put an air gap between the extruder and the adapter plate to isolate the high temps.
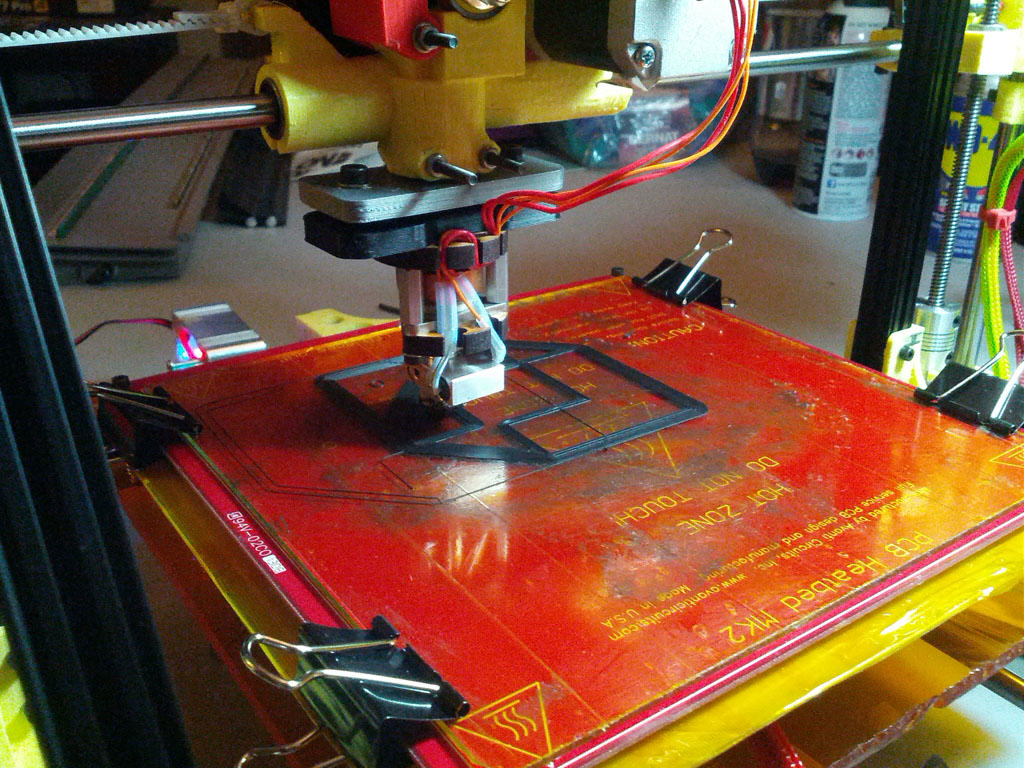
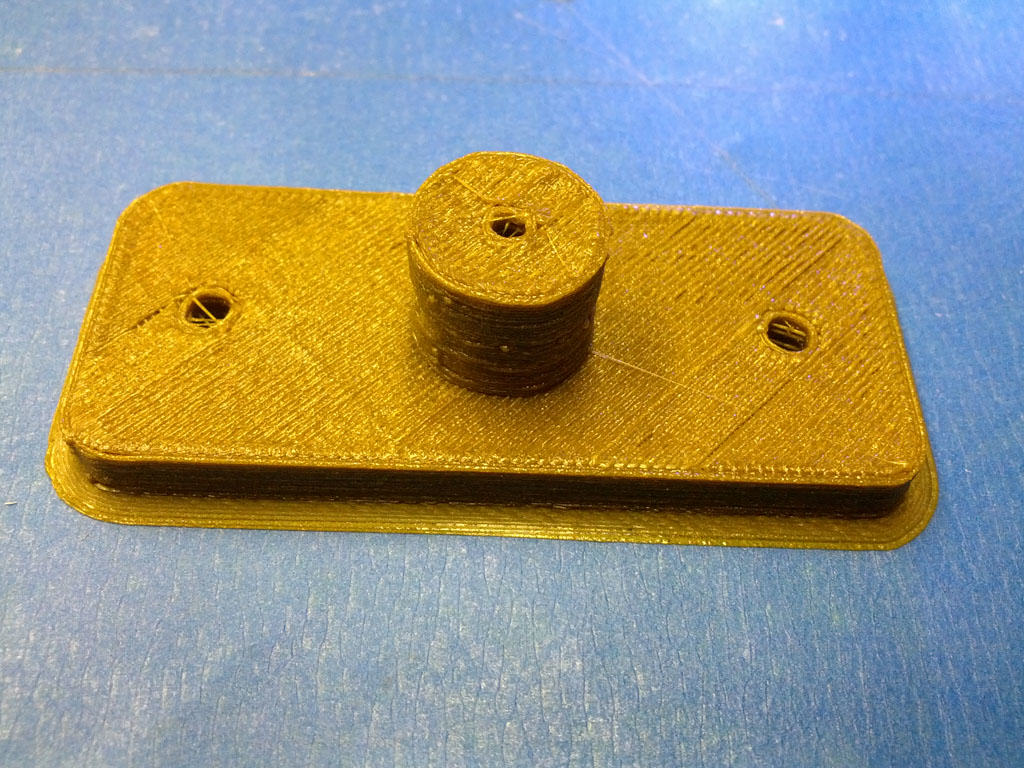 Once I had the printer working with the above adapter plate, I used it to print the Tri-Wing design out of ABS and have been using that design ever since with great success. The black plate below the copper colored on is the stock ABS plate which comes with the Budaschnozzle. This is the kind of thing a 3D printer is great for, but of course it’ll be nice when I’m printing parts to solve other problems, not just fixing printers!
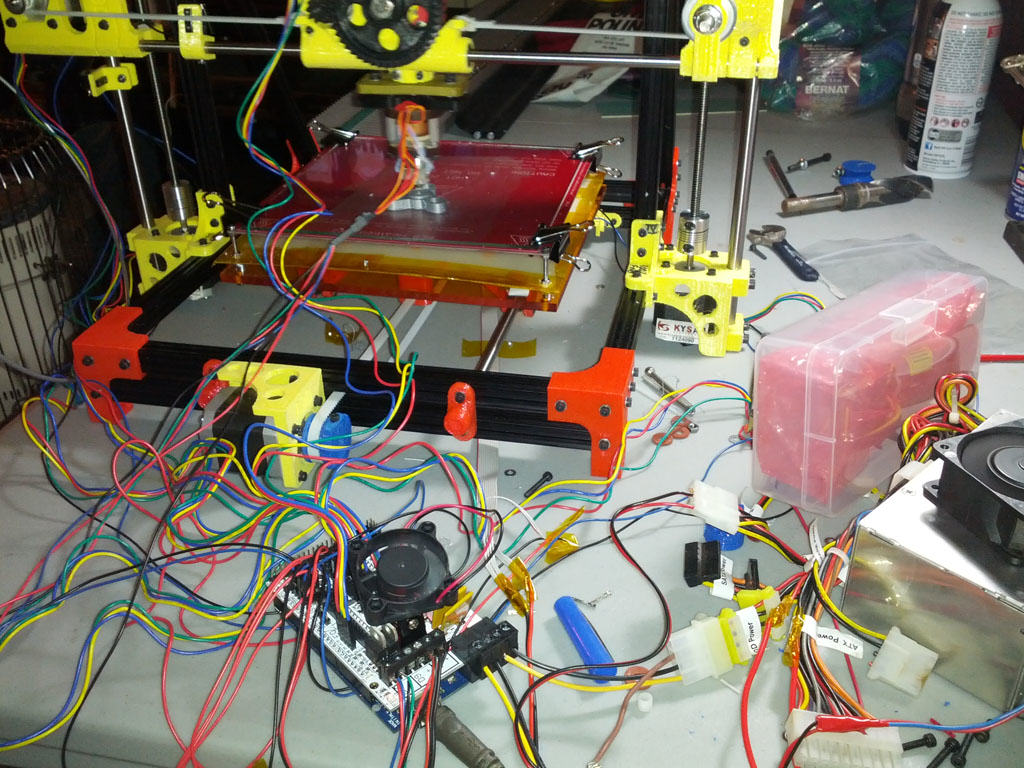
I also used a piece of orange acrylic for the bottom plate on the Y-Carriage which holds the heated print bed and added a piece of FR4 fiberglass material sheathed in ceramic wool (Inswool) to insulate the bed and help it warm up faster. This setup has held up to the temperatures pretty well and caused no issues. You can see the changes to the y-carriage and heated print bed in the picture below.
 After all of the assembly and such which took about a week and a half to get right I had a working 3D Printer, it wasn’t too bad for me to work with the electronics and mechanics of the 3D printer since I had previous experience building the large CNC Router which works on the same basic principal as far as the electronics go and I’m pretty handy with tools. The T2.5 belts, pulleys and hardened round rod were a bit different from what I’m used to, but pretty easy to figure out with the great resources available on RepRap.org and other 3D printing websites out there (I’ll link them at the end so you can browse them if you like.).
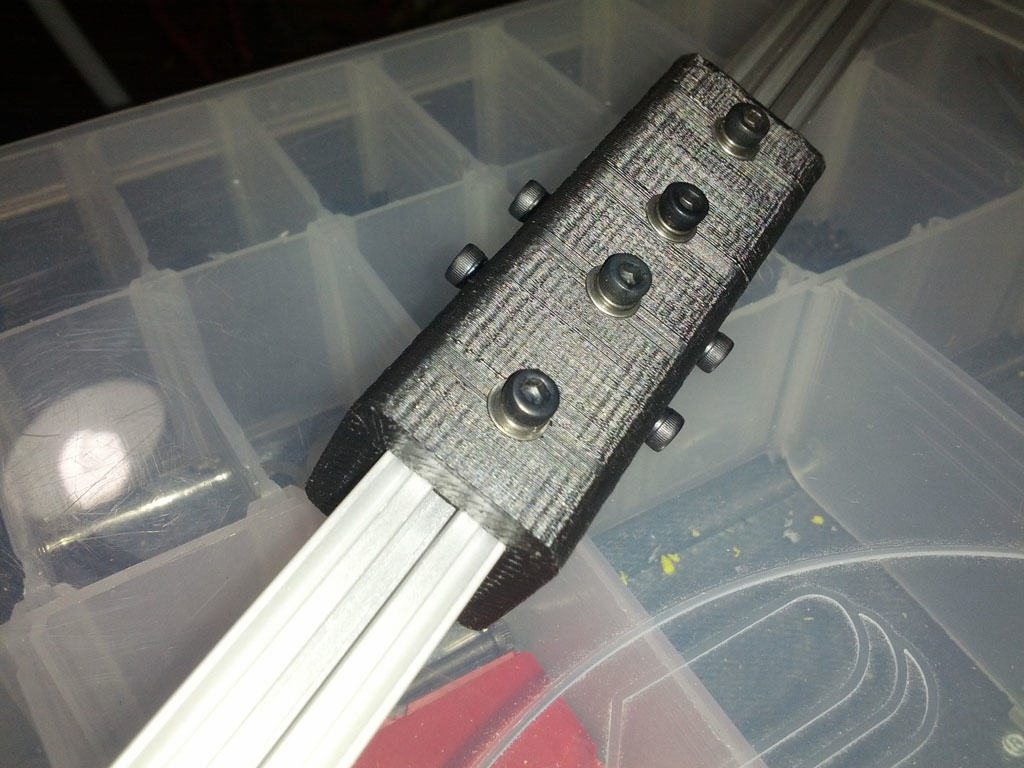
Here are some examples of parts I’ve built on this printer so far:

A few things I learned through all of this:
* If you really want to build a 3D printer from scratch you can build your own nozzle and everything, but there are several good commercial fabrications of the open source 3D printer designs on RepRap.org including, but not limited to Lulzbot Budaschnozzle, J-Head from hotends.com (He only sells them on Friday afternoon), and arcol.hu (Disclosure, I have a Budaschnozzle and J-Head, so I may be biased, please research the options and reviews on your own!)
* There are a lot of open source 3D printer designs out there. If you can print, or get someone to print parts for you it helps. There also also designs which use no printed parts and while they’re not considered a true RepRap since they can’t make their own parts(at least some of them) they provide the same end function which is most important.
* A DIY 3D printer can take a lot of tuning. If you’re not technically inclined it just may not be for you. If you’re willing to learn new things, it could be a fun, aggravating and ultimately rewarding experience!
* If you just want to print 3D objects without having to build something there are many commercial printers out there in a wide price range from the mid hundreds to the tens of thousands of dollars.
I’ve been pretty quiet on the blog lately since flying season was over for Winter and I’ve only had a couple of projects for the winter.
I’ll be posting some more 3D printer related stuff in the following days and weeks. I’ve already printed a full set of printer parts and made a OB 1.4 kit for a friend, which he has assembled and got running already, and I’ve been doing some experimenting with print settings which I want to share as well. With Spring on the way and radio controlled helicopter flying season about to be back in full swing I’m sure I’ll be printing various items for that hobby as well as other projects which need customs parts.
2 responses to DIY 3D Printer with OpenBeam
Hi!
I am trying to also create me me this OB1.4,
but I don’t find from any part the plastic pieces to start.
You where you have stamped him?
Do you know someone or some links where I can ask a complete press of the kit?? Thanks
Michael
Go to the OB1.4 page on http://www.thingiverse.com/ and ask about it, someone may be able to help you out!
DIY 3D Printer with OpenBeam 1 Trackbacks / Pingbacks
Prusa I3 Mk3S Printer Comment on DIY 3D Printer with OpenBeam (November 16th, 2019 at 19:20)
[…] opportunity finally came around for me to be able to buy the kit version of the printer. I have my DIY OB 1.4 printer which I built from scratch back in 2013 but it always seems to be taken apart for some project or […]
Leave a reply to DIY 3D Printer with OpenBeam